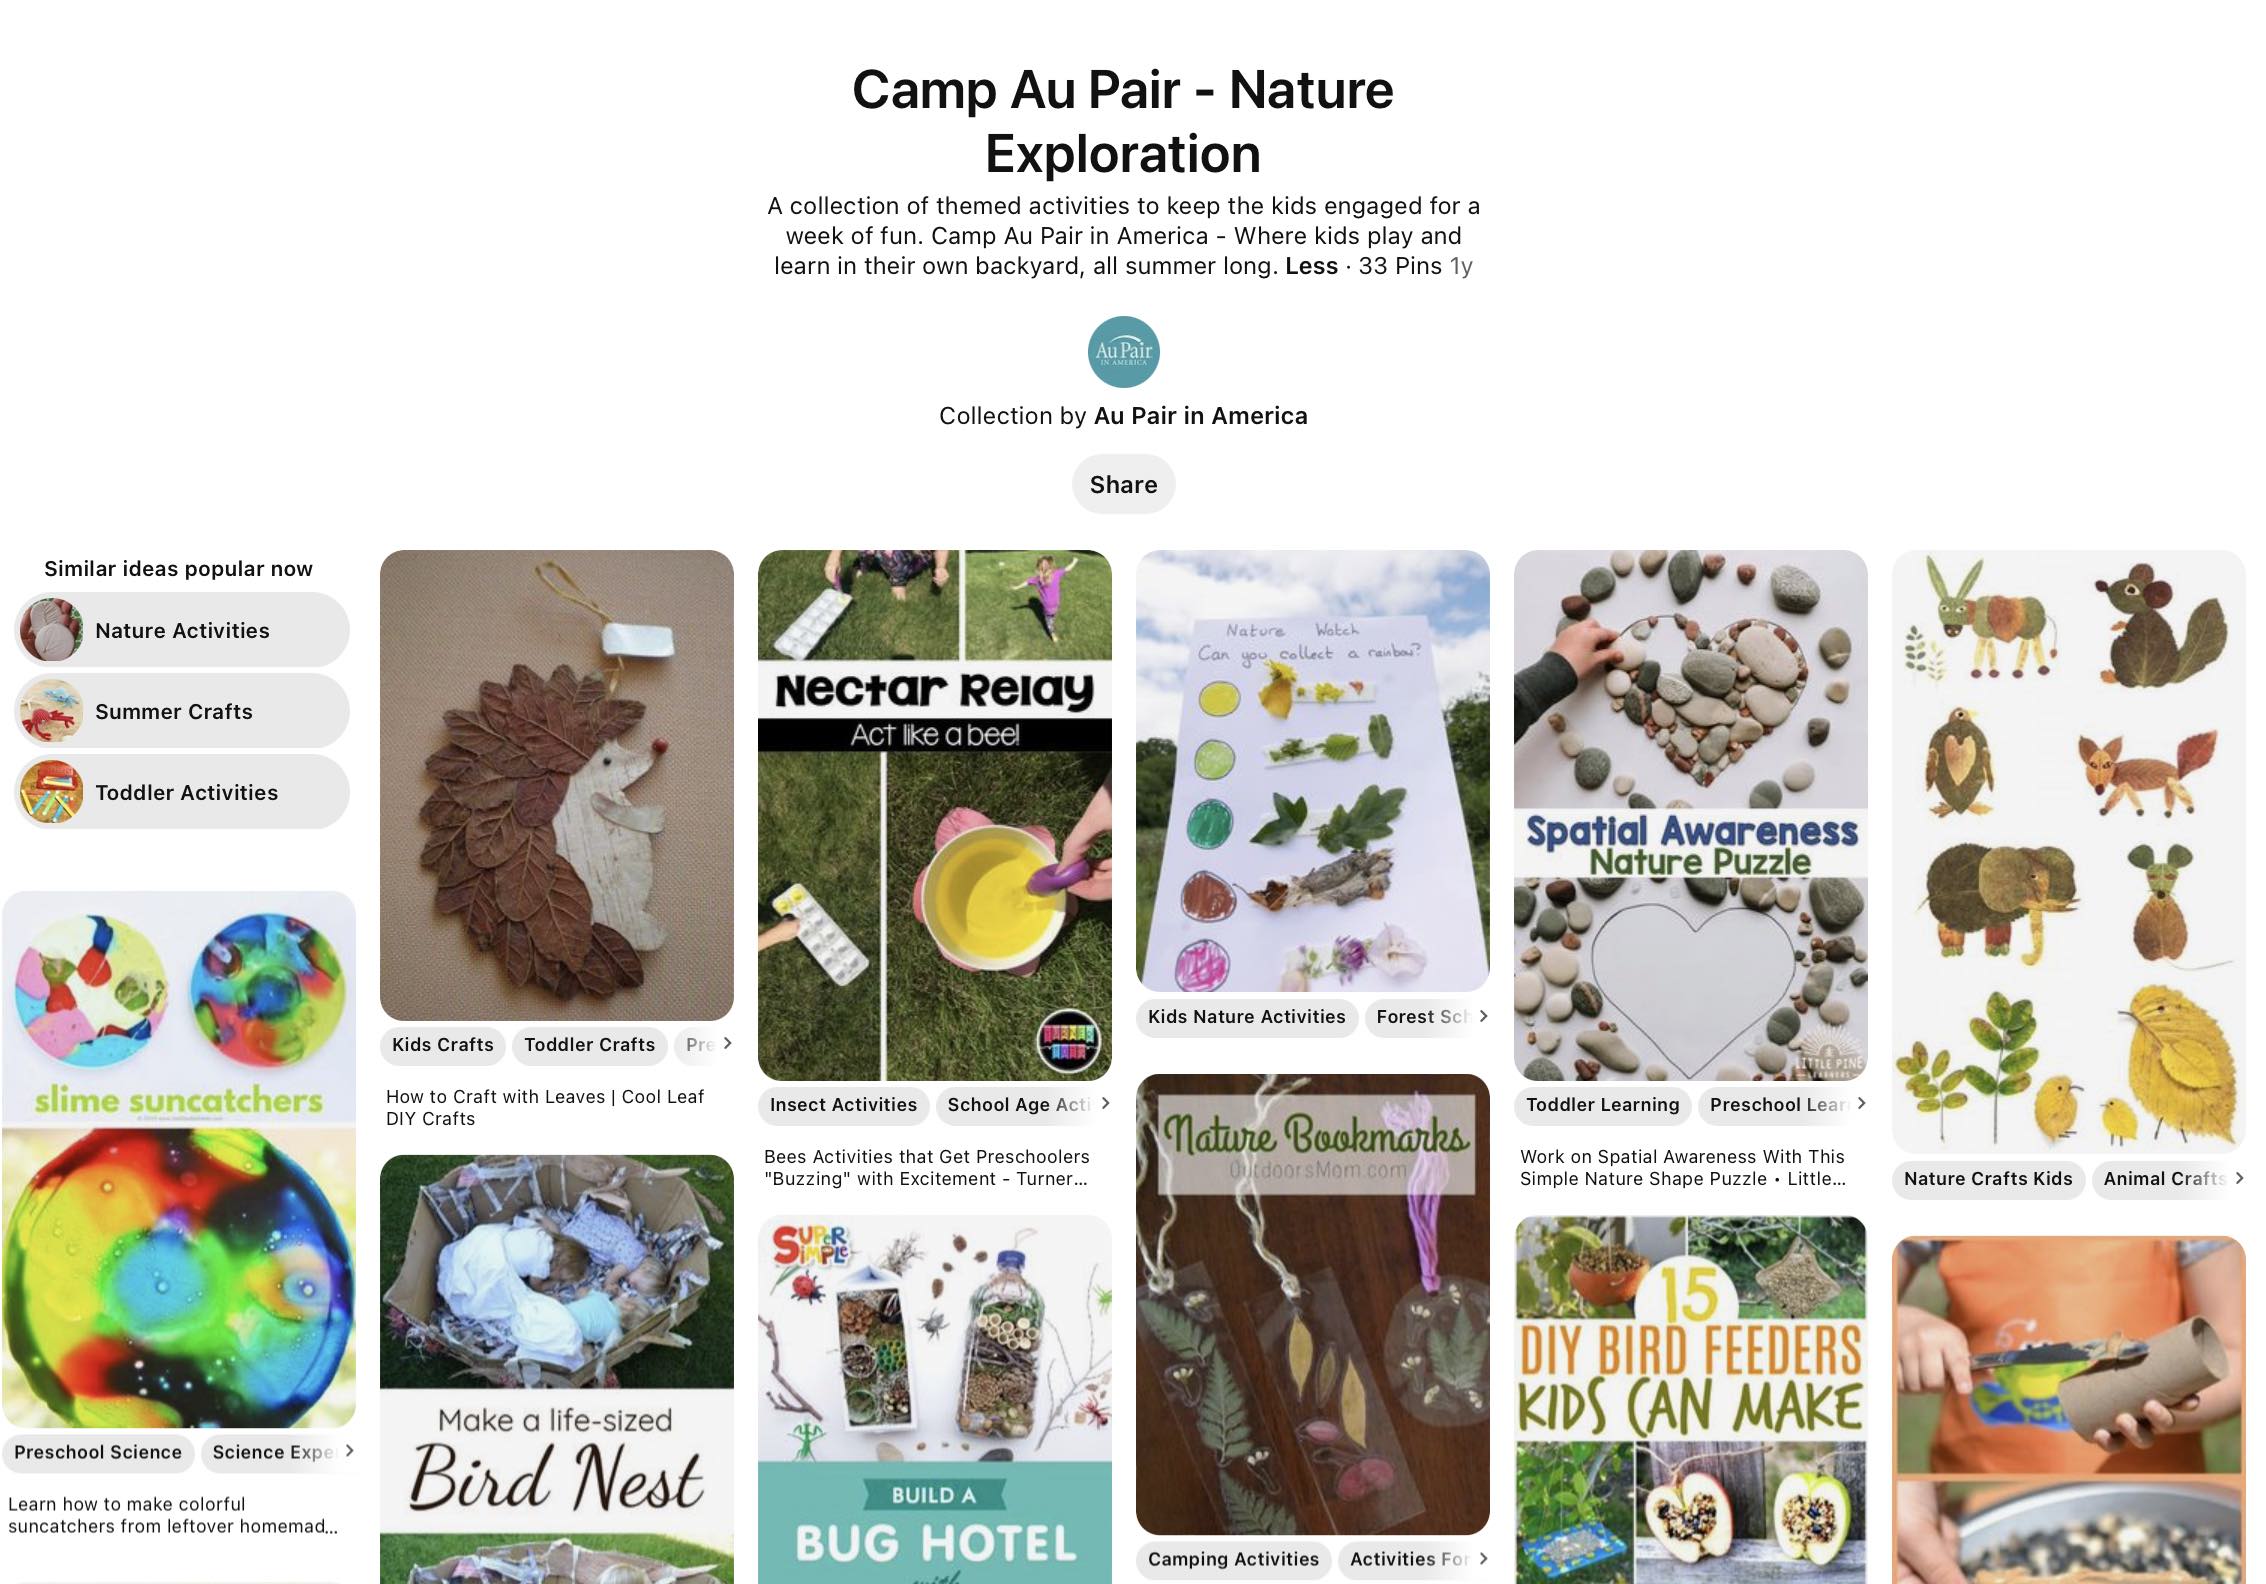
About Au Pair in America

Au Pair in America is the nation's first legal au pair program. Since 1986, we have provided the best child care opportunities to host families across the US and au pairs from around the world.

Marble Print Bookplates

February 21, 2012

Marble-Print Bookplates

These bookplates make reading extra personal and extra fun.

 From FamilyFun Magazine

Marble-Print Bookplates

Total Time Needed:
1 Hour

Materials
  • Bookplate template
  • Painter’s tape
  • Box or container with tall sides
  • Tempera paints in 2 or 3 colors
  • 5 or 6 marbles
  • 8 1/2-by-11-inch paper
  • Glue stick

Instructions
  1. Print out the template and cover the name boxes with painter’s tape as shown above. Set the template in the box. Tip: To keep the template from sliding, stick a small roll of painter’s tape under each corner.
  2. Squirt paint along the sides of the template, then drop in the marbles. Show your child how to gently tilt the box, so that the marbles roll through the paint and across the template.
  3. Let the template dry, then carefully peel off the painter’s tape. Color copy the template onto 8½-by-11-inch paper and cut out the bookplates. Glue each one to the first page of a book or wrap them up as a gift.
Tips:
A plastic index-card holder (available at office supply stores) makes a great gift box — packed with a glue stick — for our Marble-Print Bookplates.

Happy President’s Day!!

February 20, 2012

presidents

President’s Day is a federal holiday celebrated on the third Monday of February. The holiday is intended to celebrate President George Washington’s (February 22nd) and President Abraham Lincoln’s (February 12th) birthdays.

Use this holiday to learn about these two famous Presidents. Click here for some history and activities on President’s Day!

Fun With Letters

Febraury 19, 2012

Fun with Letters

by Catherine Newman and Jodi Butler From FamilyFun Magazine

Keep your preschooler spellbound with these simple alphabet activities.

Letter Writing Tray

Ages: 3 and up

Here’s a great way to help your tot get a feel for writing — no paper or pencil required! First, sprinkle a thick layer of cornmeal over the bottom of a rimmed baking sheet, then show her how to write letters with one or two fingers. When she’s ready to start over, gently shake the sheet to erase the letters. Store the cornmeal in a ziplock bag when not in use.

Sound Search

Ages: 2-1/2 and up

Clue your child into phonetics with this educational twist on hide-and-seek. To play, gather up a handful of objects that start with the same letter, such as a banana, boat, boot, and ball. Talk with your little one about the sound that the objects start with (in this case, “buh”), then have her close her eyes while you “hide” them around the room. Now make the sound of the letter (”buh buh buh”) and challenge your child to find everything in the room that starts with that sound.

Letter Portraits

Ages: 4 and up

Draw a large letter on a piece of paper, then give your child colored pencils or crayons and have her turn the letter into a portrait of something else. A lower-case “m” might become a camel, for example, or an upper-case “B” could change into a butterfly. For extra credit, tell older kids they can draw only objects that start with the letter on the paper.

Alphabet Scramble

Ages: 4 and up

Print each of the 26 letters of the alphabet on a separate sticky note and help your child stick the notes on a wall in order. Have her close her eyes, then switch the letters around. When she opens her eyes again, see if she can put the letters back in the right order. (If she needs a hint, try singing a round of the ABC song.) When she’s ready for a new challenge, encourage her to place each sticky note on an object whose name starts with the letter, such as “c” on a cabinet or “d” on a doorknob.

Take It Further: Make a personalized ABCs book for your little one.

Discover Engineering Family Day

February 18, 2012

nbm2

Discover Engineering Family Day at the National Building Museum
February 18, 2012, 10 a.m.-4:30 p.m. Take part in slime-making, day-long robot demonstrations and competitions, design bridges and helicopters, and much more. Free. $5 suggested donation. Most appropriate for children ages 5-13.

Random Acts of Kindness Day

February 17, 2012random-acts-of-kindness-ideas

Today is Random Acts of Kindness Day.  So… perform a few random acts of kindness- hold the door open for a stranger, let someone go ahead of you in line at the store, pay the coffee for the person behind you at Starbucks, give a compliment–the ideas are endless.  See if you can “pay it forward” and make today a great day!  Here are a few great ideas for the kids:

  • Go to a children’s zoo or a park where feeding animals is allowed. Offer a bag of food to another family to feed the animals.
  • Bake cookies together, and take them to a neighbor .
  • Pitch in and clean up the yard of a neighbor who is ill, has had surgery recently, or has had a family emergency.
  • Walk to a nearby park and pick up trash, then have a picnic there.
  • Bake a treat and take it to a police or firefighter station.
  • Arrange to plant flowers or a tree at a school or park on a Saturday morning.
  • Have each member of your family choose someone outside the family who has made a positive difference in his or her life.
  • Write short thank-you notes, and mail the letters together.
  • Discuss the best things about the area where you live, the best places to shop and have fun, etc. Have someone take notes. Then type up the ideas to give to new neighbors who move in.
  • Leave a bouquet of flowers on a neighbor’s front step anonymously.
  • Make some small gifts or write kindness wishes and drawings on bright greeting cards. Deliver them in person to residents of a nursing home, children’s home, or senior facility.
  • Collect stories from family members about kind acts both given and received, and create a family scrapbook. If you have photos, include them with the stories. As years go by and as your children grow, all of you can review the many ways that kindness has touched your family’s life.
  • Tape a lunch bag to each family member’s door. For a week, put a daily treat or note inside for them to find when they wake up in the morning.

Practice Using Your American Coins

February 16, 2012

Coin Critters

by Nicole Blasenak Shapiro From FamilyFun Magazine

coin-critters-games-photo-420-FF1010MATHA10

Here is a great game to play with the kids and practice using your American coins.   I think you will be amazing how much money you have in just coins.

Total Time Needed:

30 Minutes or less

Here’s some instant fun for just about any time or place. All it requires is a pencil and a little spare change.

The skills it builds: coin values, addition, and subtraction

What You Need
  • Coins
  • Paper
  • Marker or crayons
Instructions
  1. Take some coins from your pocket or purse, lay them out on a piece of paper, and have your child draw arms, legs, and other body parts to create a creature.
  2. Then help her total up the value of the coins and write it beside the creature. Add or take away coins to form new shapes, and figure out the new sums.

Yummy Pancakes!!

Febraury 15, 2012

Squeeze fruit in your kids diet anyway you can.   Try fruit pancakes.

 From FamilyFun Magazine

Fruit Pancakes That Kids Can Help Make

The kitchen is a great place to spend some quality time with your kids.

Ingredients
  • 2 cups all-purpose flour
  • 1 tbsp. baking powder
  • 1/2 tsp. salt
  • 2 tbsp. sugar
  • 2 eggs
  • 2 cups milk
  • 3 tbsp. vegetable oil
  • Butter
  • About 1 cup of fruit, such as blueberries, raspberries,
  • Sliced strawberries, apples, peaches or bananas
  • Maple syrup

Instructions

  1. Sift the flour, baking powder, salt and sugar into a large bowl. Show the chef how to measure accurately, using dry measuring cups and leveling off the flour. And be sure to have him check for any remaining lumps in the bottom of the sifter.
  2. Whisk the eggs and milk in a separate bowl, then whisk in the oil. Pour the egg mixture over the dry ingredients and stir with a spoon, but do not beat. The batter will be a little bit lumpy, but that’s okay. For fluffier pancakes, substitute buttermilk for the milk and use 2 teaspoons baking soda instead of the baking powder.
  3. Melt 1 tablespoon of butter in a griddle or an electric skillet on medium high. Then, being careful not to splatter the hot butter, drop about 1/4 cup of batter for each pancake (a job for older kids and parents only). Be sure to leave enough room between the cakes for them to grow. For fun, you can drizzle the batter into shapes. Pour it into a plastic bag, snip a small hole in one corner, and squeeze the batter into hearts, teddy bears, numbers or your child’s initials on the hot griddle.
  4. Ask your kids what fruits they want to add to their pancakes, then gently press blueberries, raspberries, or apple or banana slices into the batter. To help the kids pick their favorite fillings, set out bowls of the prepared fruits. Six-year-old Tom picked five blueberries and one raspberry, whereas his sister, four-year-old Ruth, said “I don’t want to put anything in it, just on it.”
  5. Cook until the pancakes bubble on the top and brown on the bottom. Flip, then cook until brown on the other side. For successful cooking, use a griddle that heats evenly. Keep it on medium high–if it’s too hot, the pancakes will burn on the outside and remain gooey on the inside; if it’s not hot enough, the crust will turn hard and the inside will be dry. Cook a test pancake in the beginning, then adjust your heat accordingly.
  6. Serve the pancakes hot with butter and maple syrup, if you like. Or, stockpile them on an oven-proof dish set in a warm oven for any late sleepers. Makes 20 pancakes.

Snow Driving Safety Tips

February 1, 2012

AAA recommends the following winter driving tips:

  • Avoid driving while you’re tired. Get the proper amount of rest!!
  • Never warm up a vehicle in an enclosed area, such as a garage.
  • Make certain your tires are properly inflated.
  • Keep your gas tank at least half full to avoid gas line freeze-up.
  • If possible, avoid using your parking brake in cold, rainy and snowy weather.
  • Do not use cruise control when driving on any slippery surface (wet, ice, sand).
  • Always look and steer where you want to go.
  • Use your seat belt every time you get into your vehicle.
  • Watch weather reports and do NOT drive in bad weather is expected. If you must leave, let others know your route, destination and estimated time of arrival.
  • If you become snow-bound, stay with your vehicle. It provides temporary shelter and makes it easier for rescuers to locate you. Don’t try to walk in a severe storm.
  • Make sure the exhaust pipe isn’t clogged with snow, ice or mud. A blocked exhaust could cause deadly carbon monoxide gas to leak into the passenger compartment with the engine running.

Tips for driving in the snow:

  • Accelerate and decelerate slowly. Applying the gas slowly to accelerate is the best method for regaining traction and avoiding skids. Don’t try to get moving in a hurry. And take time to slow down for a stoplight. Remember: It takes longer to slow down on icy roads.
  • Drive slowly. Everything takes longer on snow-covered roads. Accelerating, stopping, turning – nothing happens as quickly as on dry pavement. Give yourself time to maneuver by driving slowly.
  • The normal dry pavement following distance of three to four seconds should be increased to eight to ten seconds. This increased margin of safety will provide the longer distance needed if you have to stop.
  • Know your brakes. Whether you have antilock brakes or not, the best way to stop is threshold breaking. Keep the heel of your foot on the floor and use the ball of your foot to apply firm, steady pressure on the brake pedal.
  • Don’t power up hills. Applying extra gas on snow-covered roads just starts your wheels spinning. Try to get a little inertia going before you reach the hill and let that inertia carry you to the top. As you reach the crest of the hill, reduce your speed and proceed down hill as slowly as possible.
  • Don’t stop going up a hill. There’s nothing worse than trying to get moving up a hill on an icy road. Get some inertia going on a flat roadway before you take on the hill.
  • Stay home. If you really don’t have to go out, don’t. Even if you can drive well in the snow, not everyone else can. Don’t tempt fate: If you don’t have somewhere you have to be, watch the snow from indoors.

snow scraper 001Keep in your car for safety during the winter:

  • An ice scraper and brush Spray de-icer
  • Cat litter – for getting out of a rut, for traction in the snow 
  • Collapsible show shovel
  • Blanket
  • Cell phone – know who to call in an emergency
  • Flash light

Happy Valentine’s Day!!

February 14, 2012

valentines

Saint Valentine’s Day, commonly shortened to Valentine’s Day is an annual commemoration held on February 14 celebrating love and affection. The day is named after one or more early Christian martyrs named Saint Valentine, and was established by Pope Gelasius I in 496 AD. It is traditionally a day on which lovers express their love for each other by presenting flowers, offering confectionary, and sending greeting cards (known as “valentines“).

Here are some great activities and games to do with your kids to show love and appreciation on Valentine’s Day!

Fun Valentine Snack

February 14,  2012

Puppy Love

From FamilyFun Magazine

This Valentine’s Day show someone you care with a silly snack of heart-shaped hot-dogs!

Ingredients
  • hot-dog
  • piece of uncooked linguini
  • cheese

« Older Entries