Tag Archives: nanny San Antonio

PurpleStride San Antonio

The Pancreatic Cancer Action Network is a nationwide network of people dedicated to working together to advance research, support patients and create hope for those affected by pancreatic cancer. Saturday, November 15th, Au Pair in America helped support this very important cause by volunteering in the Kids’ Purple Zone. Au pairs Elena from Costa Rica and Agnes from Austria showed up bright and early and did a great job on the kids’ faces. See below for pictures! 🙂

photo 1 (3) photo 4
Elena and Agnes did a wonderful job!! 🙂

photo 1 (4)  photo 4 (1)photo 2 (4) photo 2 (5)  photo 3 (1)  photo 4 (2)


photo 5


If you want to help support the Pancreatic Cancer Action Network, click http://www.pancan.org/?utm_source=2014-event-template&utm_medium=purplestride-event&utm_campaign=events-aboutthecause  


Texas State Bobcats Football Game

Last Saturday we went to the Texas State Football Game (Bobcats vs. Georgia Southern Eagles), and, although the Bobcats did end up losing (final score 28-25), we still managed to have a great time 🙂

photo 4 (2)  photo 2 (3)

10748630_10152469338862335_742799263_n 10805294_10152469338827335_1602549583_n

Left to right: Annerien from South Africa, Johanna from Colombia, and Elena from Costa Rica.

unnamed (8)

This was Elena’s first football game.

photo 3  photo 5

10808354_10205142825835310_2123374069_n 10754939_10205142825915312_611912665_n


unnamed (7)

Countries represented: France, Germany, UK, Colombia, South Africa, Costa Rica, and Brazil 🙂

After the game, we all drove back to San Antonio together (and then decided to order pizza for dinner as we weren’t done catching up yet). All in all, a very successful day 🙂


And the winner is….

IMG_1532  IMG_1541

IMG_1557

M & S posing next to their pumpkin 🙂

IMG_2069 IMG_2074 (1)

PicMonkey Collage

Jack O’Lantern peppers!! What a great idea 🙂

10799515_10152469105337335_982954859_n 10805170_10152469105122335_529834121_n

Johanna from Colombia showing off her finished product!      
10751782_10152469104632335_1216659696_n

How creative!! 🙂  


Thanks to all of you who contributed responses (pictures) to our pumpkin contest! We had a really hard time choosing the winning entry. In the end, we went with: 

AGNES from Austria (as well as her two helpers) and her pumpkin + Jack O’Lantern peppers! Well done!! 🙂

IMG_1657


Pumpkin Carving Instructions

Pumpkin Carving Contest!!

Au Pairs/Host Families: Submit your pumpkin photos (of yourself, your helpers, the actual carving & final product) by November 2nd for a chance to win some special prizes!!


1. Cut a Hole in the Pumpkin

The first step is hollowing out the pumpkin. Use a keyhole saw to cut the hole. If you’ll be using a candle for illumination, you can cut the hole in the pumpkin’s top (always put the candle in a high-sided glass, and never leave unattended). For electric lights, make the hole in the bottom or side so you can hide the cord.


2. Scoop out the Flesh

Scoop Out the Flesh

Scoop out flesh, pulp, and seeds with a plaster scraper or fleshing tool.


3. Transfer Your Design

Transfer Your Design

Now it’s time to transfer your selected designs (use a pumpkin template or draw your own). Affix it to the pumpkin, and trace the design by poking holes with a needle tool or T-pin.


4. Carve the Features

Carve the Features

Remove the template and carve along the pattern with a miniature saw or linoleum carving tool.
You can also get creative with patterns and designs using pumpkin-carving tools.
If desired, place candles, small flashlights, or battery-operated light sources inside your pumpkin.

Tip: Prevent exposed areas of the pumpkin’s flesh from turning brown by applying a film of Vaseline.


5. How to Light a Pumpkin

To illuminate a carved pumpkin, use battery-operated lights, candles, or string lights. If using a candle, place it in a glass or votive holder, and cut a hole in the top/back of the pumpkin for ventilation.


October Cluster Meeting

Today, we met at Panera Bread to talk about Halloween (shared some safety tips as well as “how to carve a pumpkin” instructions) and discussed the au pairs’ Global Awareness Presentations (our mission is to introduce young children to other cultures and help them form a positive first impression of people from other cultures).

We also welcomed Agnes who just arrived from Austria!! 🙂


photo 2

Left to right: Zuzana from Czech Republic, Saaynaam from Thailand, Johanna from Colombia, Annerien from South Africa, Nut from Thailand, and Agnes from Austria.


photo 1

Johanna from Colombia and Nut from Thailand received their Education Certificate after fulfilling the educational component of the program (6 credits or approx. 72 classroom hours at an accredited Post-secondary institution).


…and handed out some APIA Certificates of completion!  🙂


P.S.: Don’t forget, pics for our Pumpkin Carving Contest must be submitted before November 2nd!!


Become a Global Awareness Volunteer

What is a Global Awareness Presentation?

Global Awareness presentations are meant to introduce young children to people from other
countries and cultures. We want them to start forming positive first impressions of someone
from a different part of the world. We want them to go home at the end of the day and say, “I
met a lady from ______, and she was really cool!”
Each Global Awareness presentation is unique. Presentations vary depending on the ages of the children, the grade, and length of time available. A presentation for a pre-school class will be very different from one for a 5th grade class!

Here are some suggestions for presentations. Please feel free to use your own ideas, creativity and materials to create a presentation that is age-appropriate, meaningful and enjoyable for all. You can create a display board if you like filled with photos of your country. Or you can teach the children a song, a game, or a craft. There are so many things you can do, but remember, the most important part of Global Awareness is to HAVE FUN!!

Geography
Stand in front of the classroom map and show where your country is. Provide basic information such as:
· How long it took you to fly from your country to the U.S.
· Tell the children if the seasons are the same as those in the U.S. or opposite
· You may want to give them a map of your country to color.
Many children will want to tell you where they have been and where their ancestors are from.

Flag
Show the children the flag of the country and if age-appropriate, explain what the colors and
design represent.
· You can sing your national anthem.
· You can give the children a flag of your country to color
Most schools will be happy to make copies of the materials you want to hand out to the children.

Language
· Teach a mini-language lesson. The children enjoy learning basic vocabulary such as
counting, animals, foods, greetings and school-related words. How do you say,
‘school,’ ‘teacher,’ ‘class,’ ‘computer,’ backpack,’ ‘book?’

Animals– Bring in pictures of animals from your country.

Currency -Bring in money from your country. The children enjoy seeing and handling this.

Folk tales/nursery rhymes-share stories from your country.

Food/recipes-bring food from your country. But be sure to ask the teacher for permission to
bring food to the classroom. Beware of allergies!

Holidays/celebrations/customs– share holiday traditions with the children. Most teachers
enjoy a presentation with this information during the U.S. Dec. holiday season.

Native costume/dress-the children love to see what your native costume looks like. Bring it to class to show them.

Games/activities – play a game that is popular with children in your country

Music-teach the children a song or dance from your country.

Sports– What sports are popular in your country? Who are the sports heroes? What sports do
children in your country enjoy?

Remember, these are only a few ideas. Feel free to create your own presentation.
We will also send you materials to give to the children.
The children will be very excited for you to visit their classroom! 🙂
Please contact me for more information!

Glow in the Dark Mini Golf

For this month’s cluster meeting we visited Monster Mini Golf (a themed glow in the dark 18 hole miniature golf course off NW Military Hwy). For many of the Au Pairs, this was their first time playing mini golf (they all did great!!) and it was a wonderful day of golf, conversation, and fun!

IMG_4805
From left to right: Johanna from Colombia, Nut from Thailand, Caroline from Sweden, Annerien from South Africa, Elena from Costa Rica (in pink), and then Zuzana and Hana from Czech Republic.

IMG_4812
IMG_4820
IMG_4844

IMG_4827
IMG_4831

IMG_4842
IMG_1199
IMG_1196 IMG_1197 IMG_1198
Ivet & Hana, Elena & Zuzana, and Saaynaam & Nut

IMG_1201IMG_1202IMG_1203
The girls showing of their Painted Plate projects 🙂

IMG_1204 IMG_1205

IMG_4832
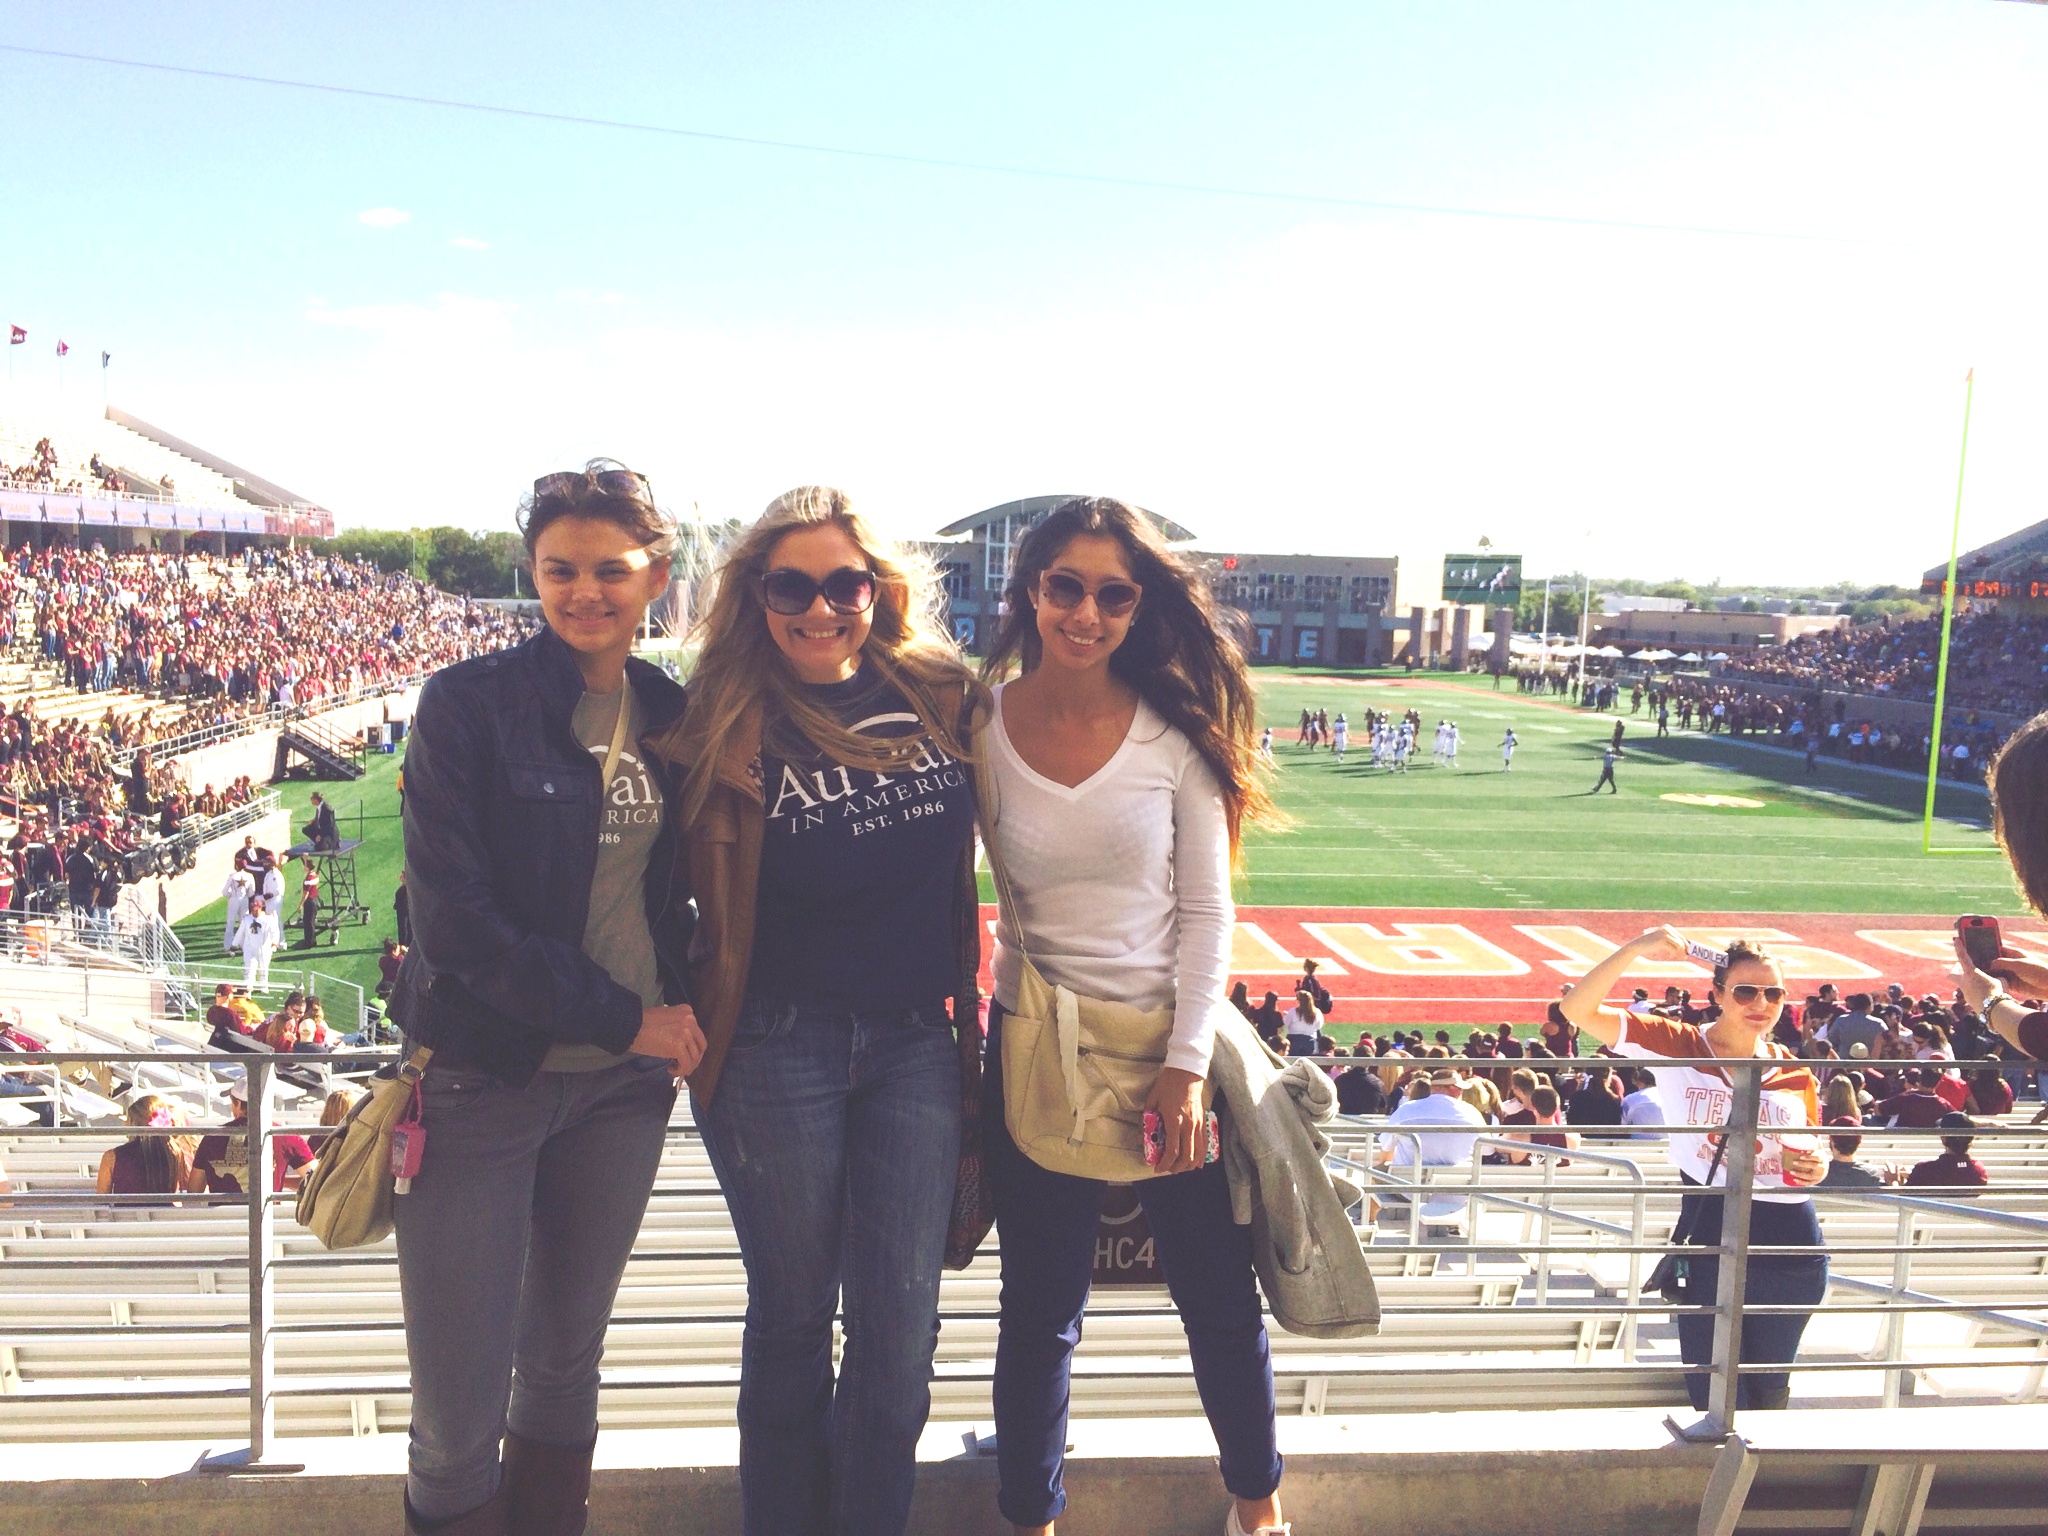
We stopped for some Subway after the game

Simple Ways to Shake Up Snack Time!!

Whether it is your week for share-a-snack at school, or you are looking to tide over tiny tummies until dinner—snack attacks can leave you starved for ideas. If your crew craves something more creative than a bag of goldfish, satisfy small stomachs with a playful presentation. Here are eight simple solutions that take snacks from drab to fab—and might even introduce some new flavors to the mix.

Stick It To ‘Em

To view recipes, please visit:

http://redtri.com/eat-up-simple-ways-to-shake-up-snack-time/?utm_source=LB&utm_medium=morestoriesmissed&utm_campaign=inboundMorestoriesmissed

Caring for a Sick Child

When a child has less energy than usual, is unusually cranky, has less of an appetite, or just doesn’t seem him/herself, chances are the child is sick. Fever is a sign a child is fighting an illness or infection. Fevers are usually not serious and can be cared for at home. It is typical for younger children to run higher fevers than older children. Fevers are also often higher in the evening than in the morning. Be alert for rash, earache, stomachache or sore throat, as these may indicate more serious problems.

A child’s temperature can be taken orally, under the armpit, or with special thermometers only in the ear. Au pairs and host families should discuss the preferred method for that family. A child has a fever if the temperature is 99.4’F (37.4’C) when taken by mouth or under the arm. Be sure the thermometer is shaken down first, and left in place for 3 minutes in the mouth or 6-8 minutes in the armpit. Talk or read to the child while you are taking his/her temperature. Never leave a child alone with a thermometer.

When a child has a fever, he or she needs more rest than usual and should not be awakened. Quiet play is fine, but too much activity can aggravate a fever. Children should be dressed in light layered clothing. Liquids are very important – offer water, juice, fruit drinks, tea, popsicles, Jello or soup.

Some children might enjoy stirring their tea with a lollipop, or having soda as a special treat. Host families and au pairs should discuss appropriate medication and desired dosage. Do not offer children aspirin; consider instead acetaminophen or ibuprofen, but only with the approval of a host parent. If a child’s fever is over 103’F, a lukewarm bath might be comforting. If a child vomits, offer small amounts of liquids, but no dairy products. Within the first 24 hours the diet should be limited to clear liquids, bananas, plain white rice, applesauce and plain toast.

When children are sick they will need an extra dose of patience, attention, affection and comfort even more than they need medicine or special diets. Although basic rules and discipline should not change, a child may be more dependent on adults when he or she is ill. Extra imagination and creativity is needed to keep a sick child entertained with quiet pastimes. Children will welcome novelties – use a baking sheet as a tray to assemble a puzzle in bed or to keep crayons from rolling away; create a story with stuffed animals and a flashlight under a blanket.

Warning signs – It is time to ask for more help if a child:

• has a fever higher than 104’F (40’C)
• is very cranky, sluggish or doesn’t awaken easily
• has trouble breathing
• is confused, or vomits repeatedly
• is unable to swallow or is drooling
• has a convulsion or seizure
• has dry lips, sunken eyes, little or no urine or dark yellow urine


School Bus Stop Laws

With some schools getting back in session and new au pairs who have recently arrived, I wanted to remind everyone about what to do in different situations with school buses. If you have questions, please ask your counselor or your host parents.

The rules regarding stopping for school buses are:

  • It is against the law to pass a stopped school bus while its lights are flashing and its stop signal arm is extended.
  • On undivided roadways, with no physical barrier or median, vehicles must stop on both sides of the roadway.
  • Yellow flashing lights indicate that the bus is preparing to load or unload children. Motorists should slow down and prepare to stop their vehicles.
  • Red flashing lights and extended stop arms indicate that the bus has stopped, and children are getting on or off. Motorists approaching from either direction must wait until the red lights stop flashing before proceeding.

NB: It isn’t necessary to stop when passing a school bus on a different road or when on a controlled-access highway where the bus is stopped in a loading zone and pedestrians aren’t permitted to cross.