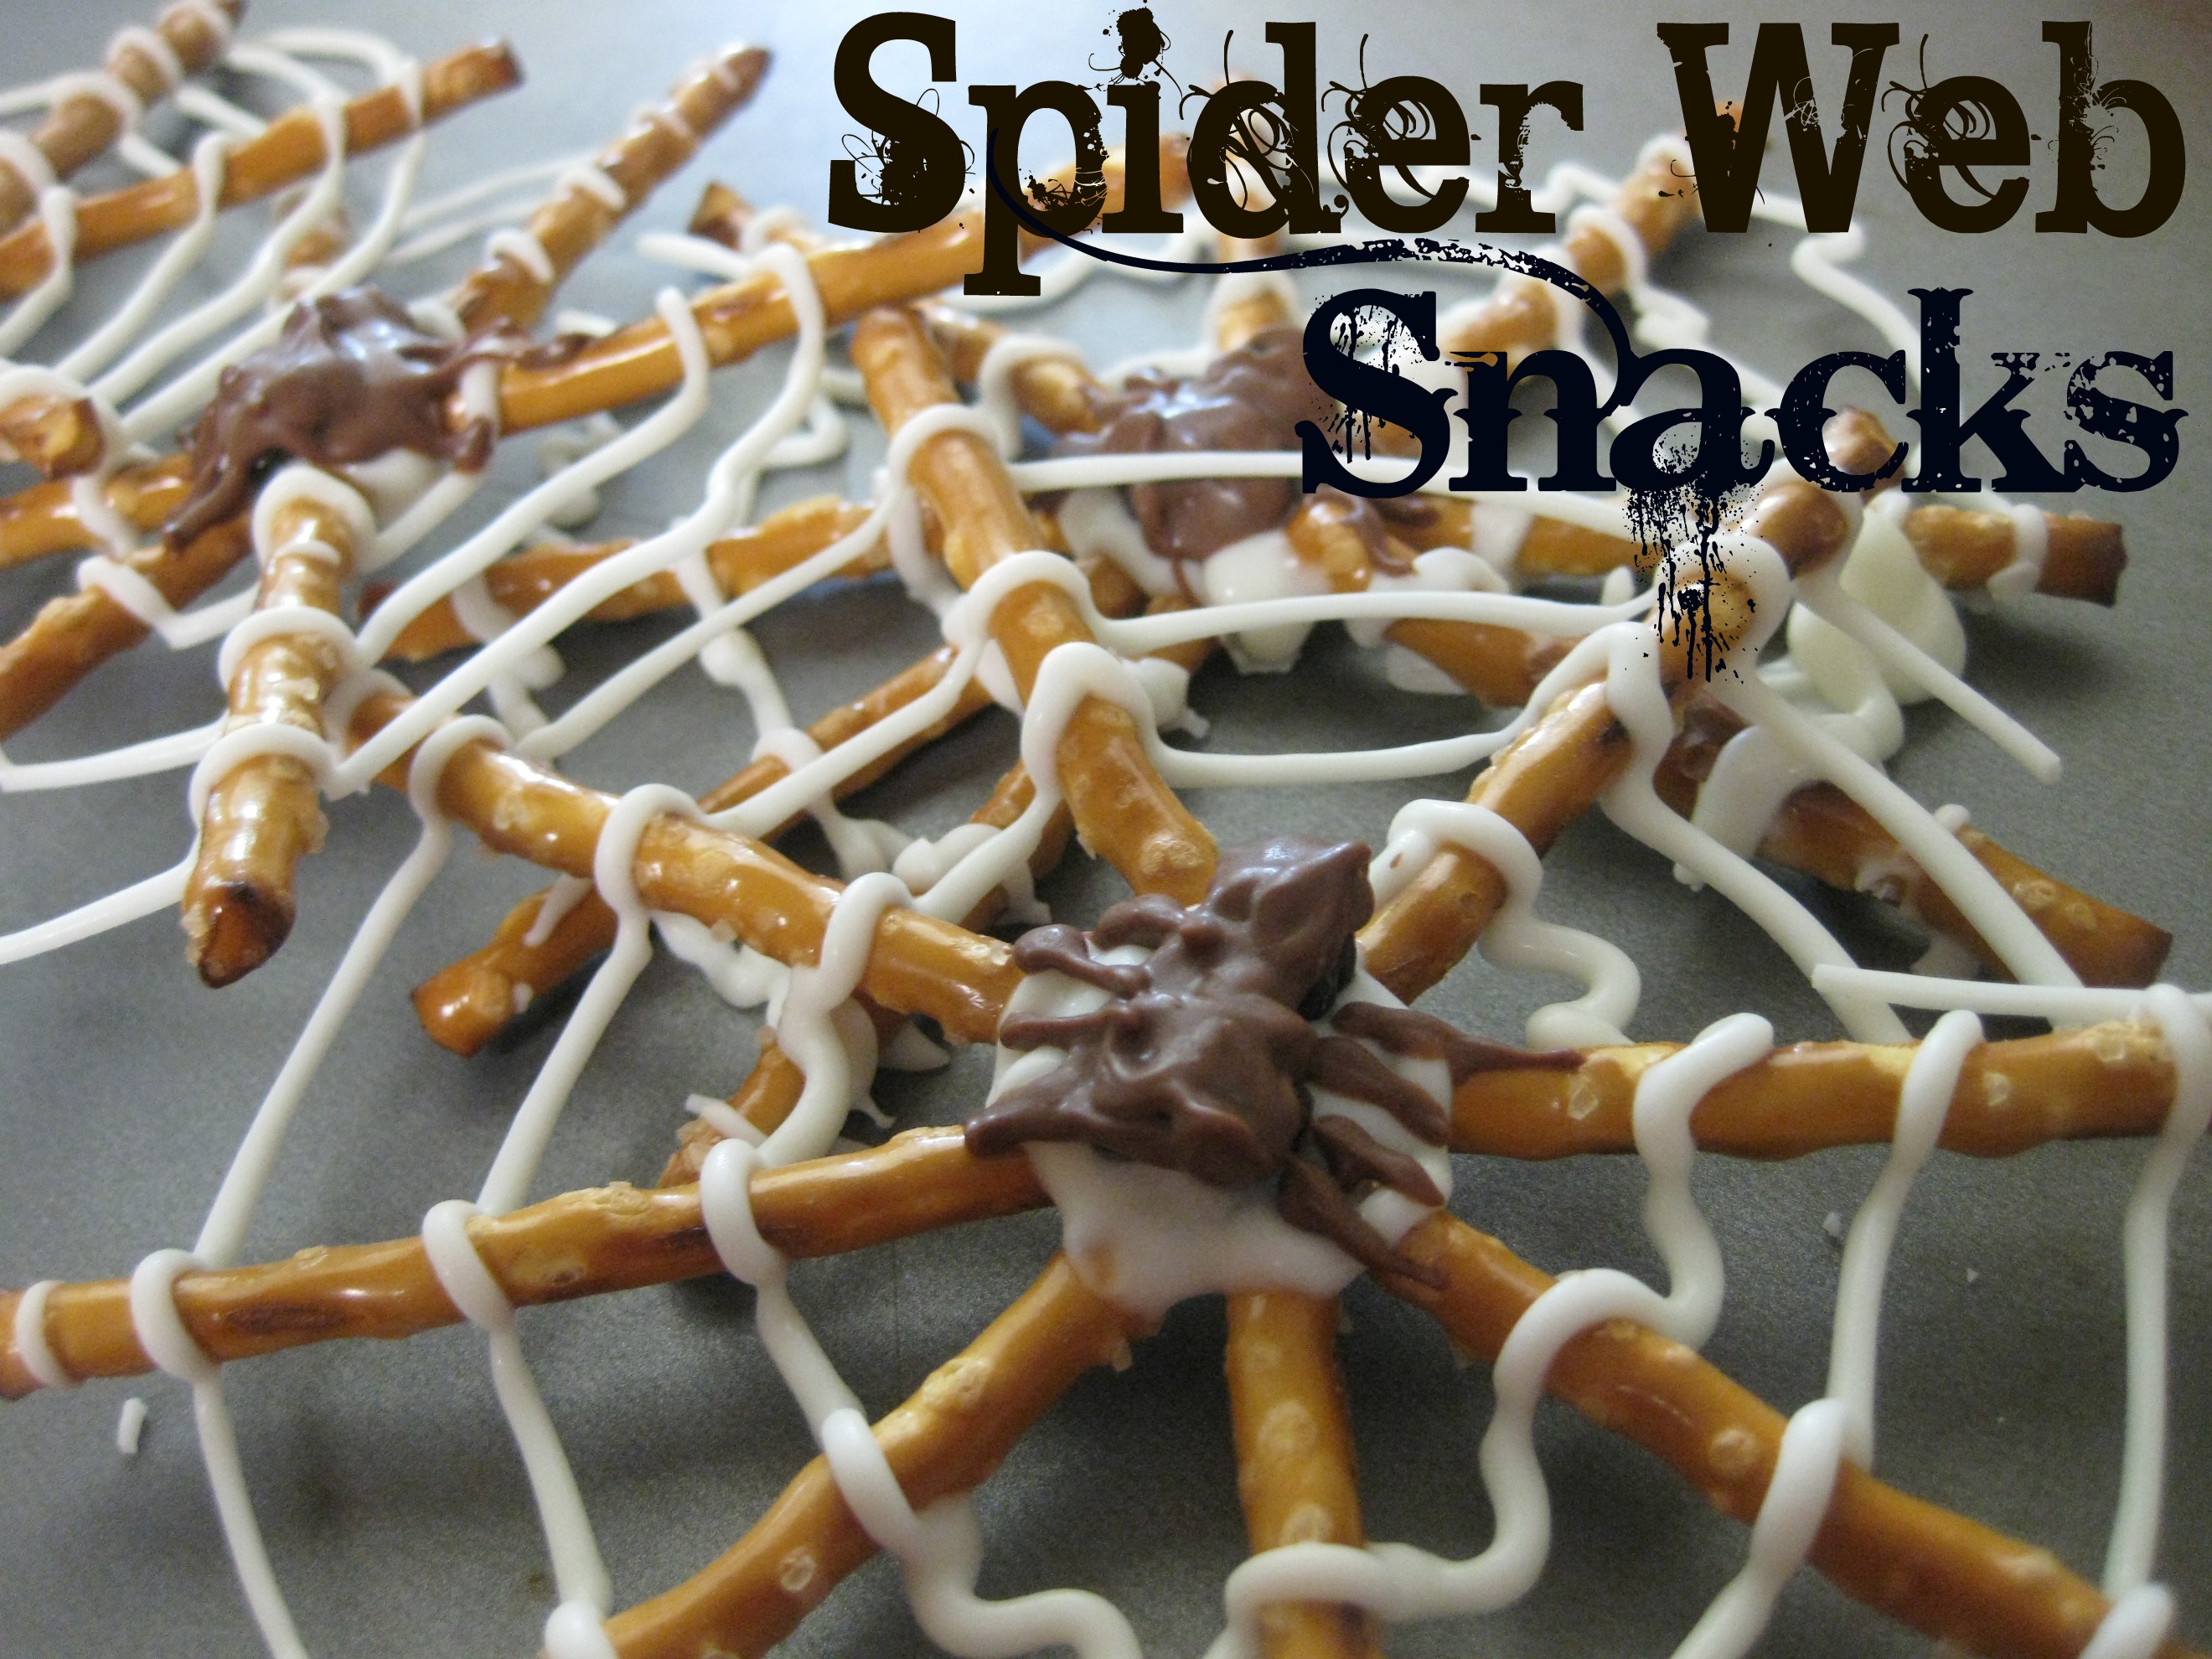
Spider Web Snacks
Here is a fun Halloween treat of the season. Who knew eating spider webs could be so yummy?! These are easy, inexpensive, and cute!
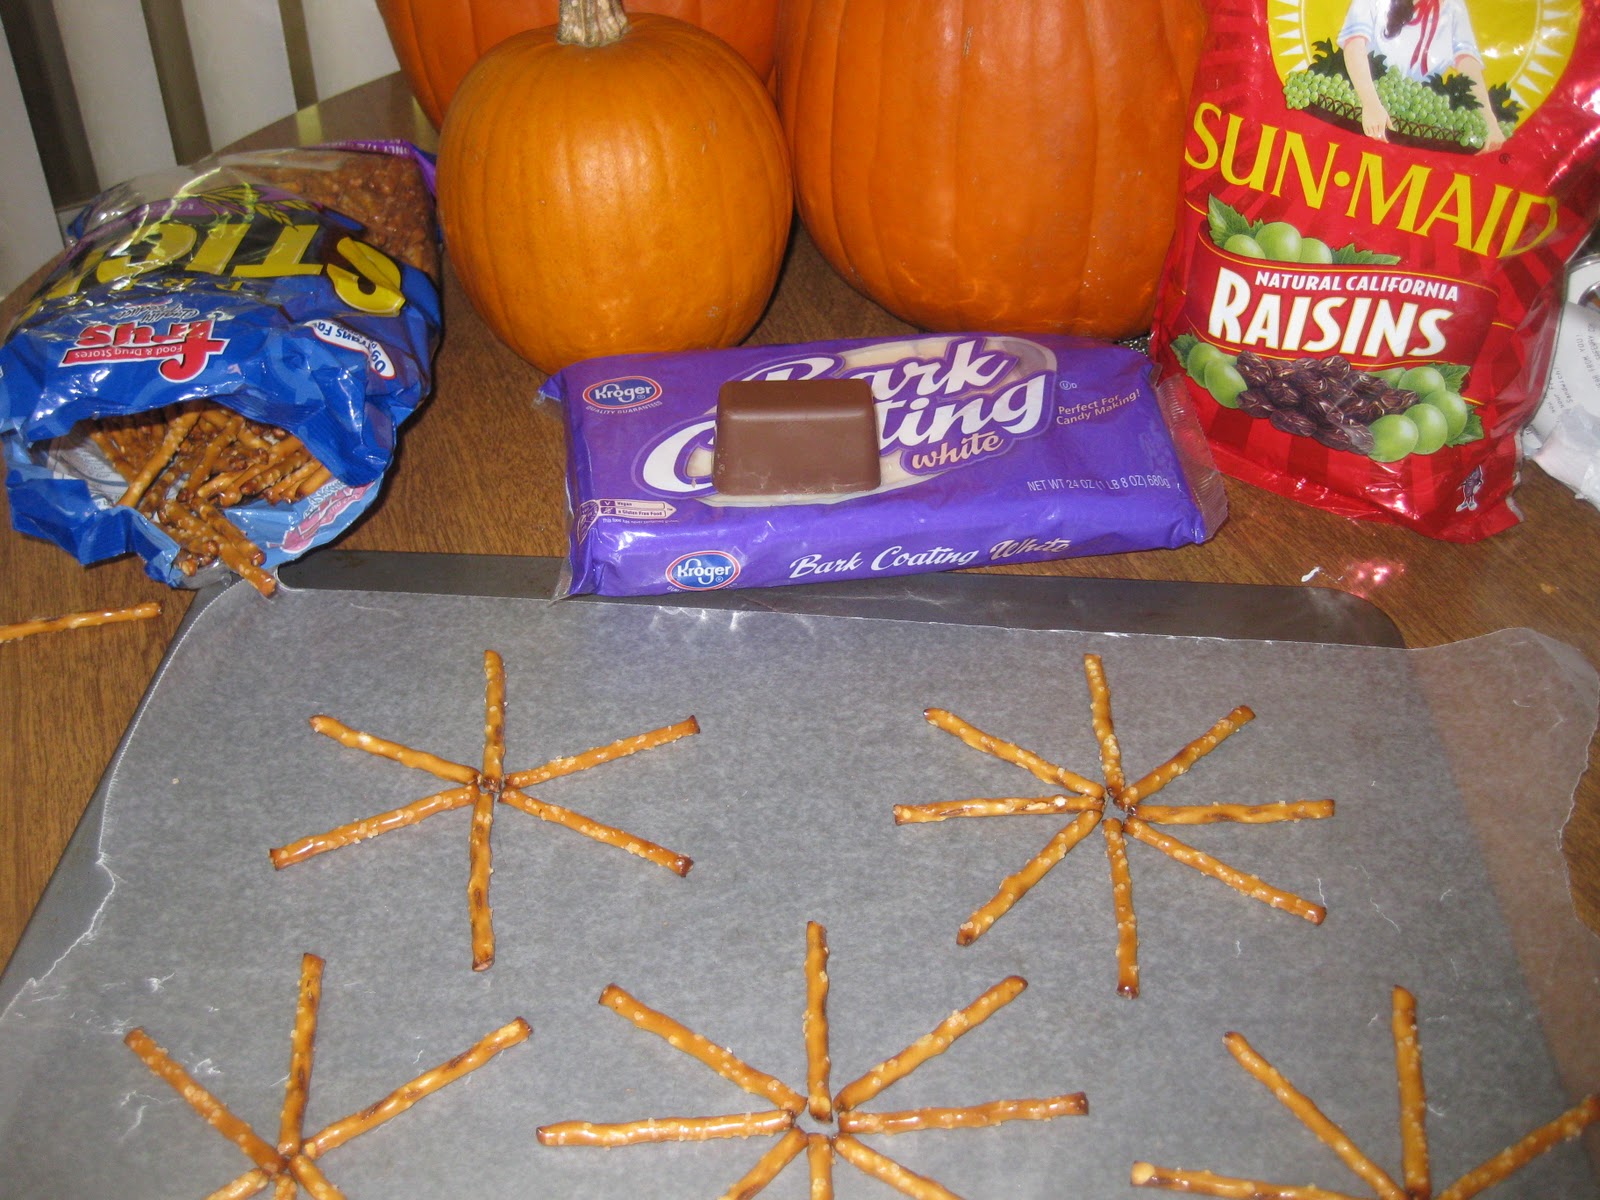
Ingredients:
– pretzel sticks
– white chocolate/bark candy coating
– chocolate (baker’s, candy coating, or chips would probably all work)
– raisins
– baggie or pastry bag
– wax paper
Directions:
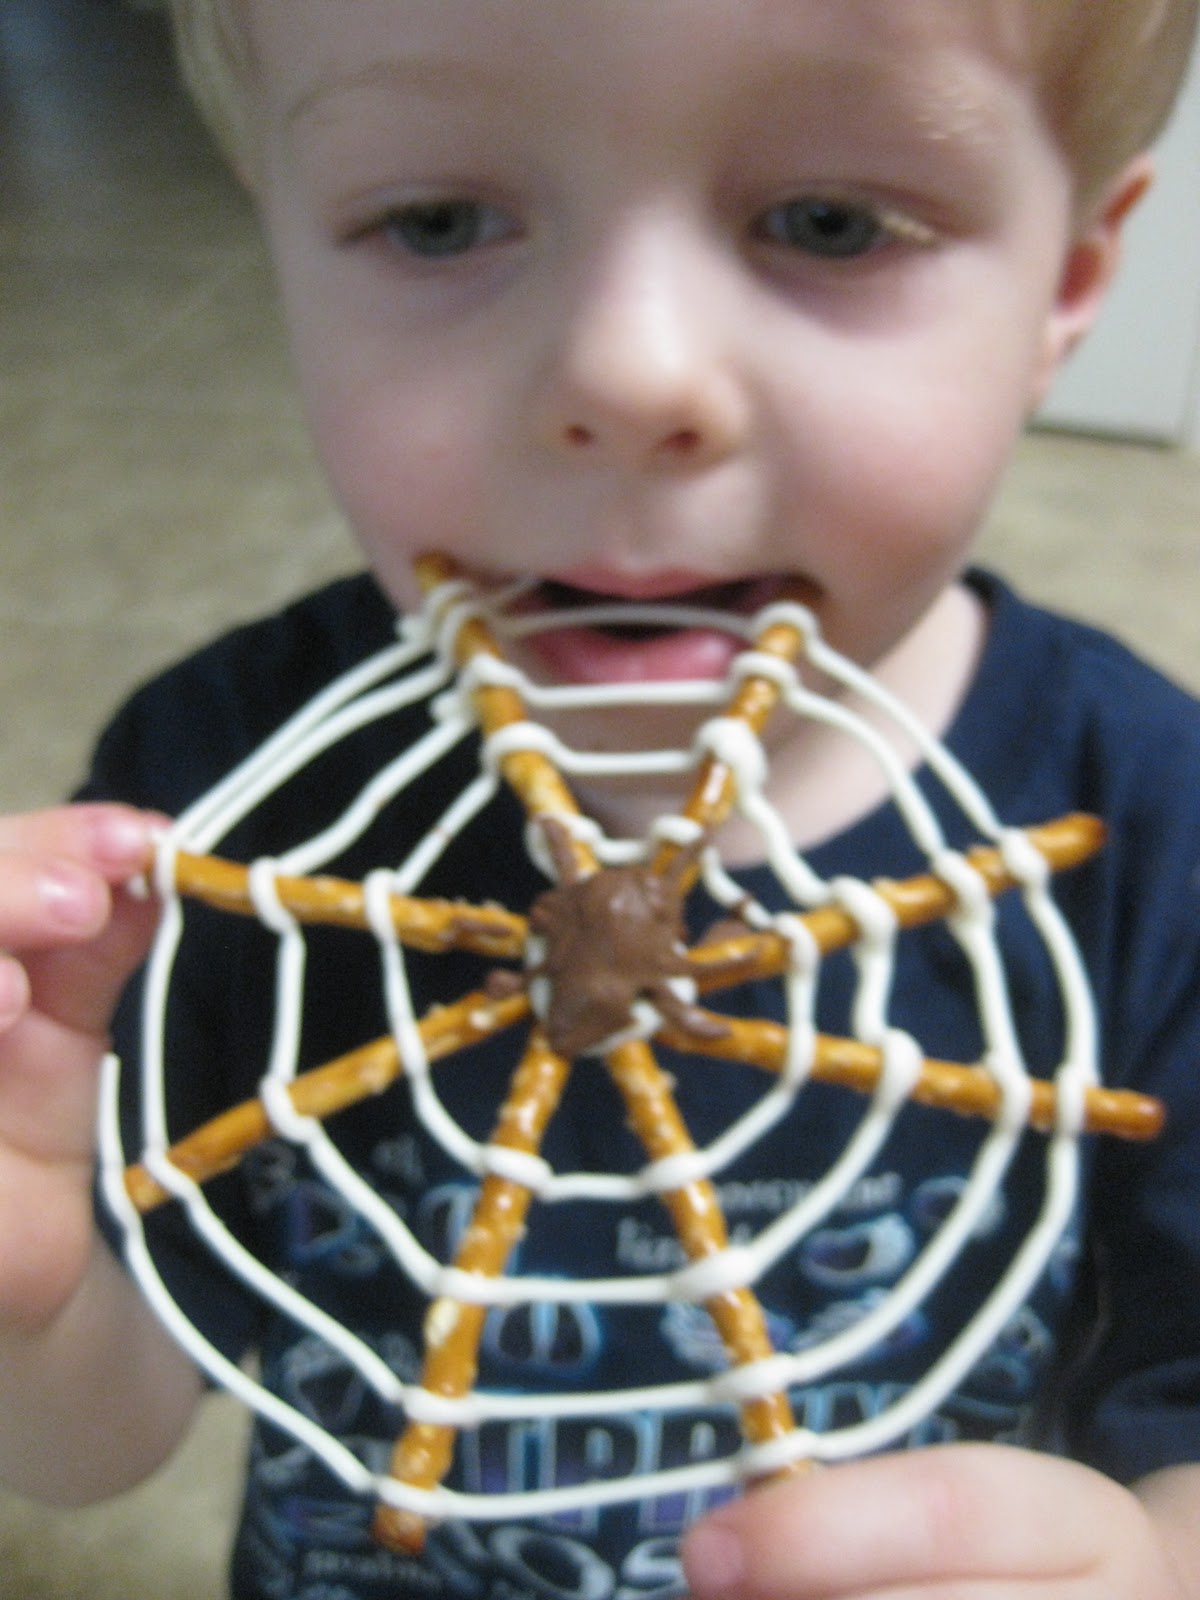
Lay out your pretzels on the wax paper in “starburst” arrangements of 6 or 8 pretzels (it’s a good idea to put it on a cookie sheet for transport stability).
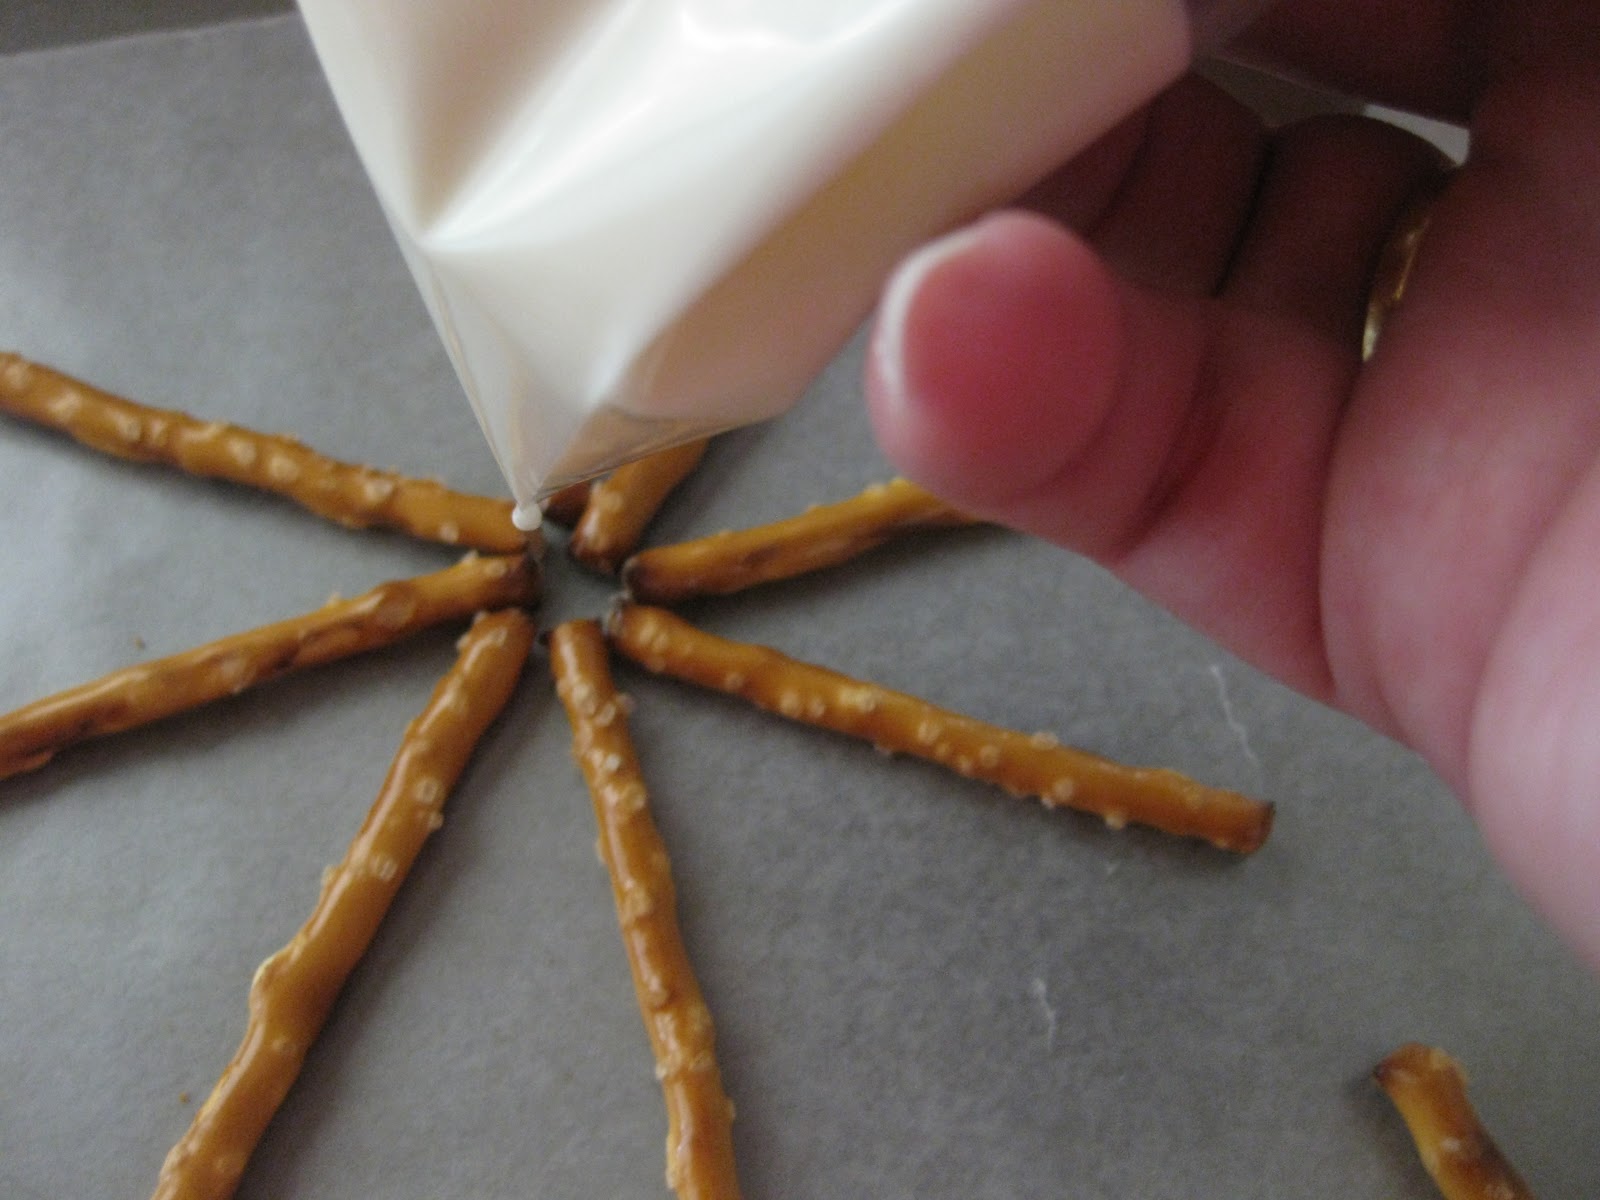
After melting your white chocolate/bark coating, place in a baggie and cut the corner off (or use a pastry bag). Start piping your chocolate in the middle of the pretzel arrangement, making sure to coat all the pretzels.
Continue piping outward around the pretzels, until you have a web. Then, place two raisins in the middle for the body of the spider.
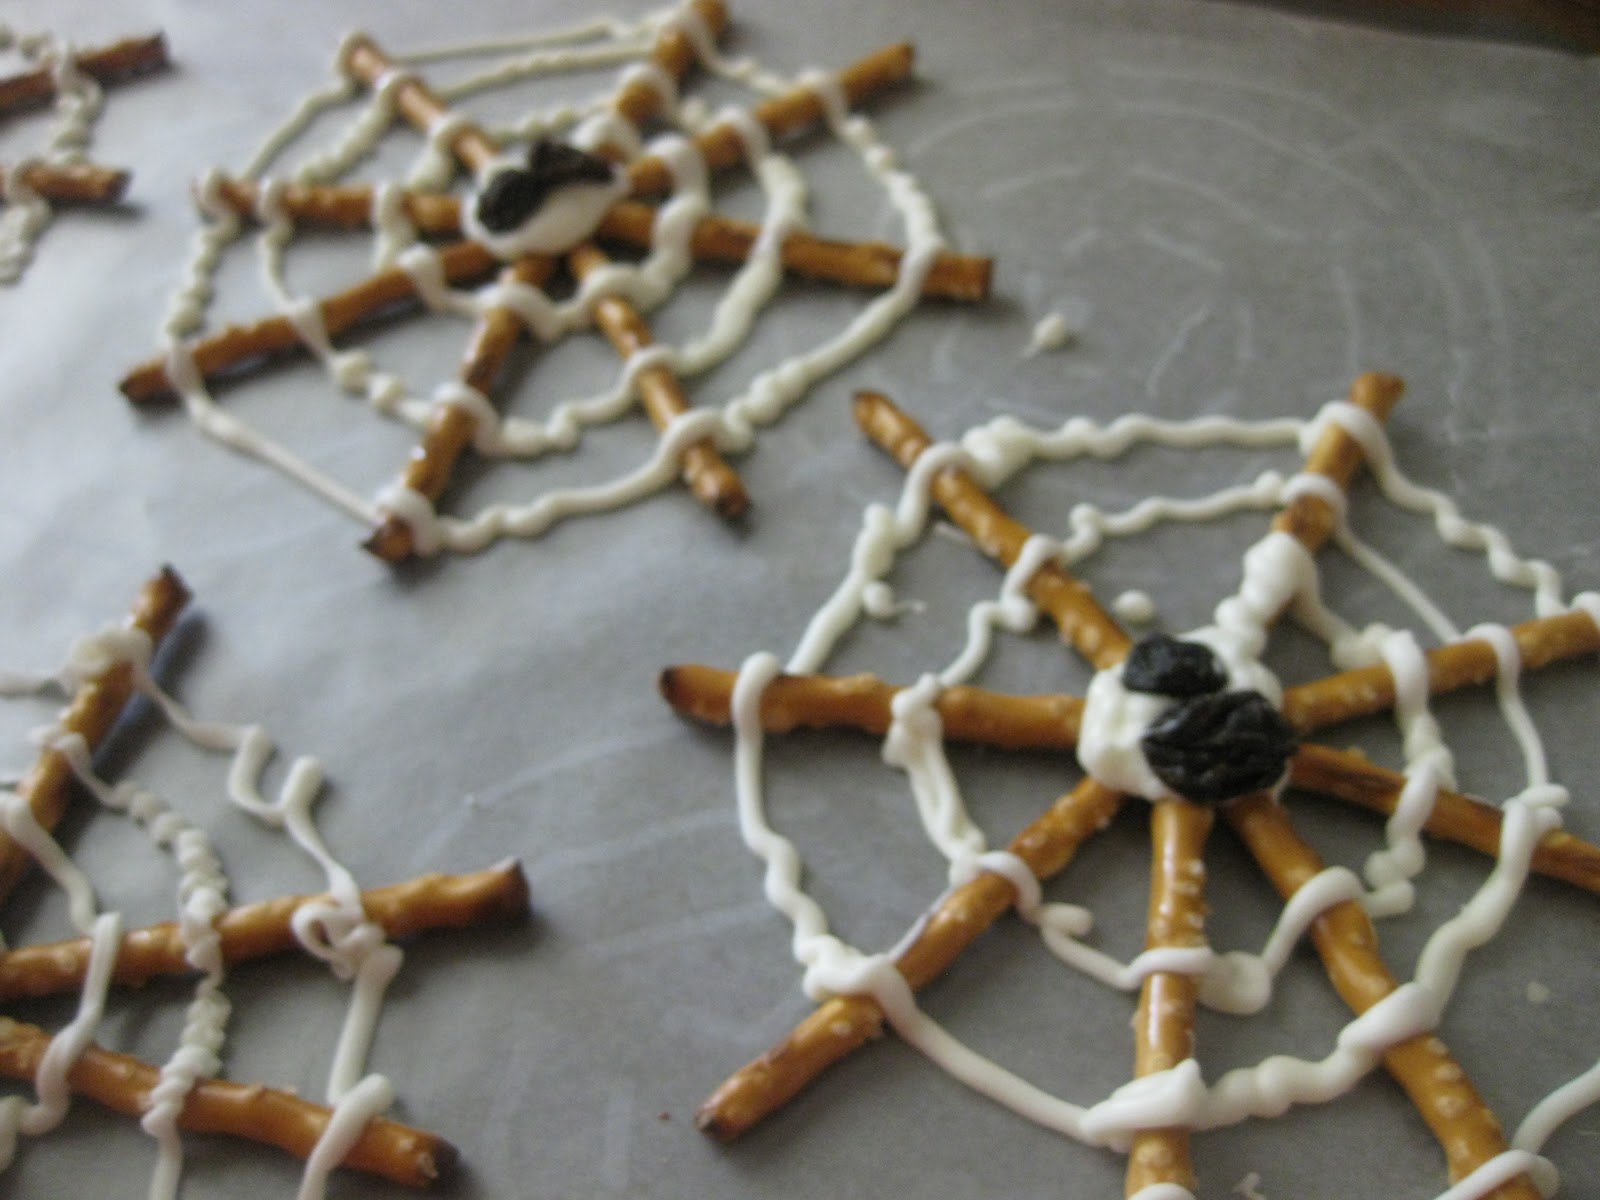
Melt your regular chocolate and pipe over the raisins. I found that the spiders turned out better when I piped the legs of the spider first and then did the body. Place in the fridge for a few minutes until the chocolate is hard. Then, gently peel back the wax paper.…and eat!


 We are very proud of the ongoing training we offer our au pairs which provides further educational on a wide range of topics.. Our orientation trainers take great care to research and prepare the topics presented and we get great feedback from au pairs who attend. Please help us spread the word by sharing the information via your FB groups, blogs, newsletters and emails.