Yearly Archives: 2013

Happy Thanksgiving!

shayagency.com

shayagency.com

Thanksgiving Day, is a holiday celebrated in the United States on the fourth Thursday in November. It has officially been an annual tradition since 1863, when, during the Civil War, President Abraham Lincoln proclaimed a national day of “Thanksgiving and Praise to our beneficent Father who dwelleth in the Heavens.”  Thanksgiving, a uniquely American holiday, dates back to the first European settlers in North America.  After much hardship, illness and hard work, the Pilgrims were finally able to celebrate a successful harvest which they shared with their Native American friends who had helped them through their difficult beginning in America.  Today this day is set aside to feast and to give thanks-something we can all share, as we too celebrate our cross-cultural friendships.

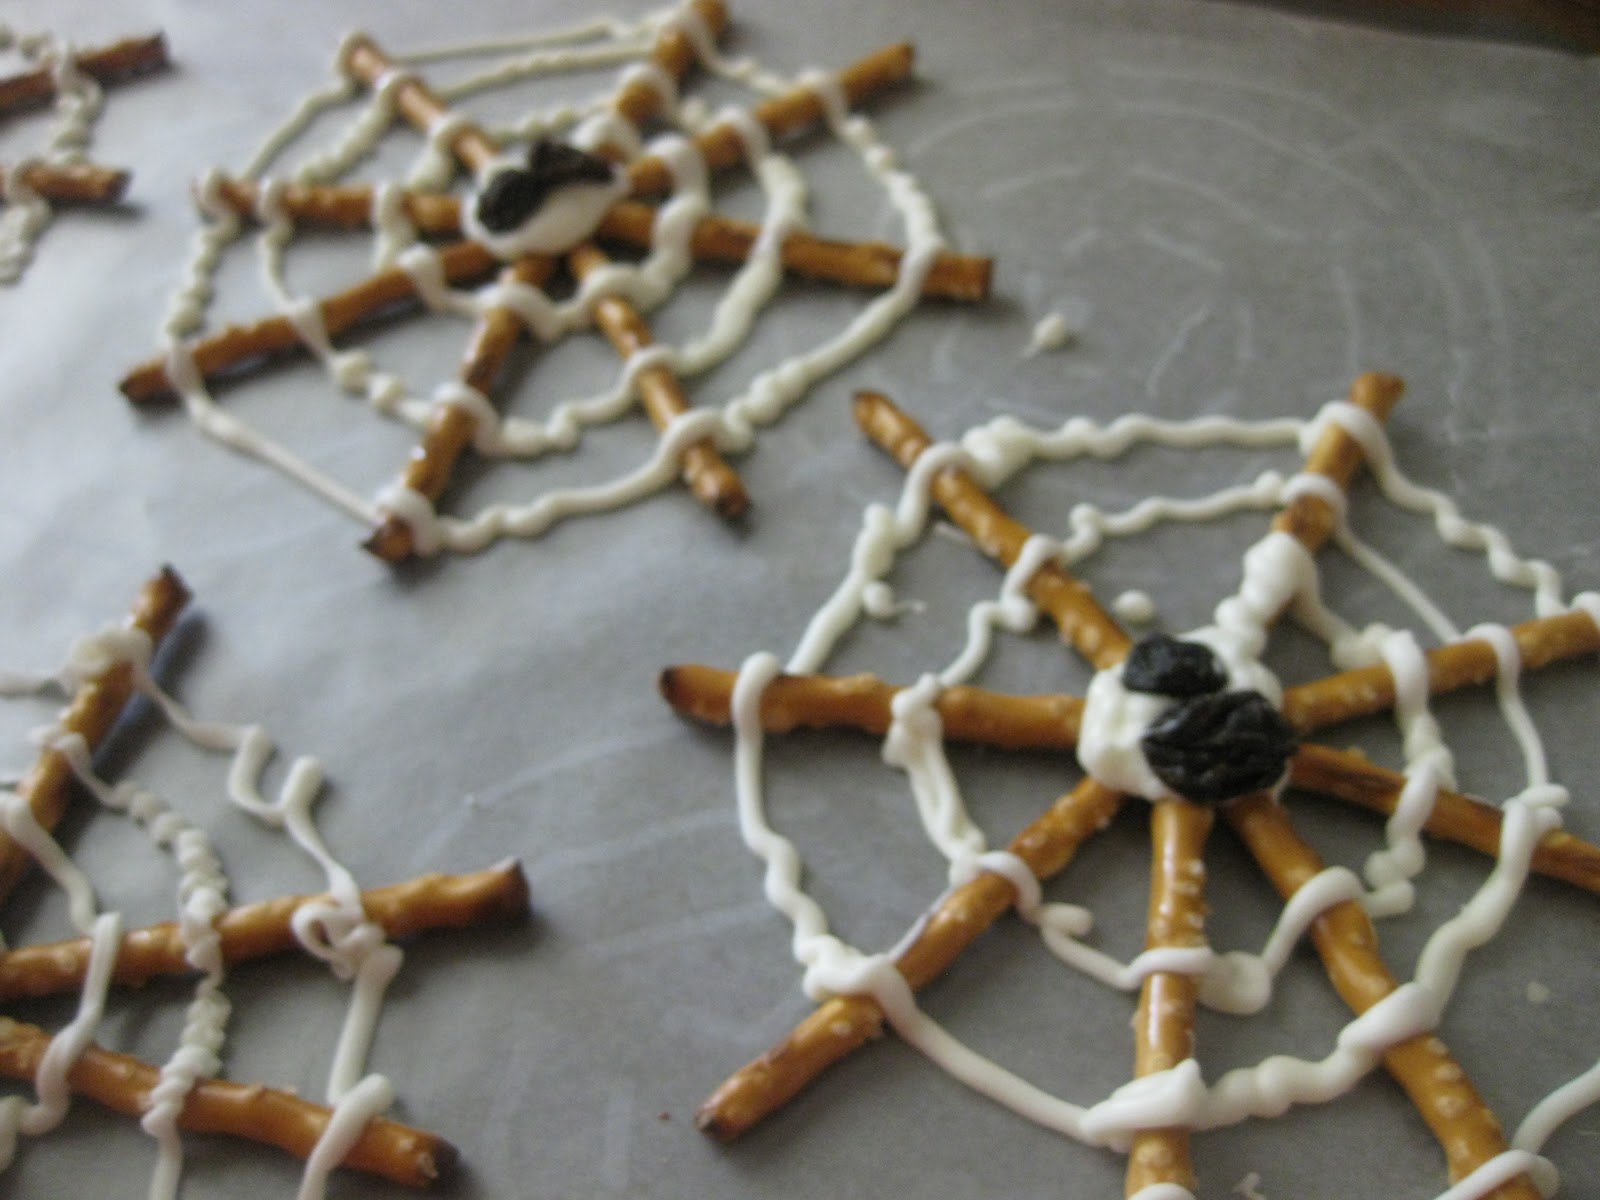
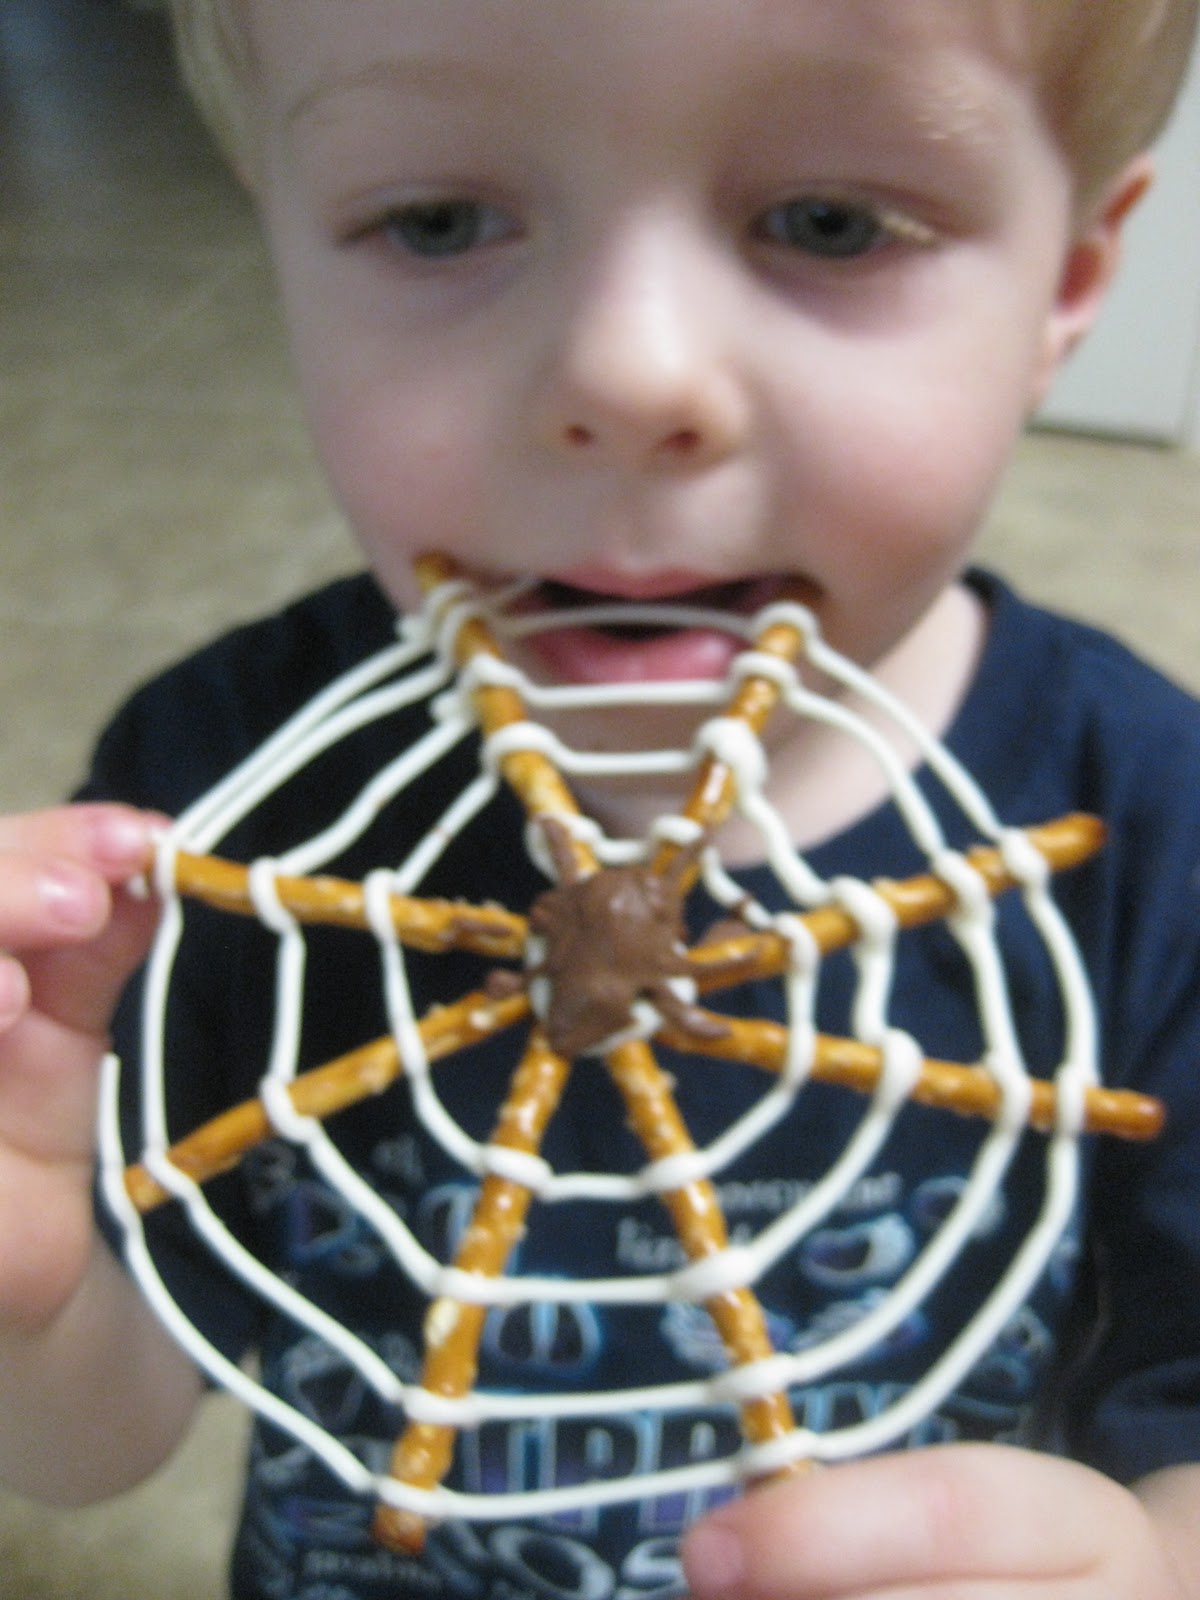
Some activities to share with the children :

Maple-Nut-Berry Popcorn Balls ( for children ages 3 and older): Add some chopped walnuts and raspberries, blueberries or blackberries. Add enough melted butter to lightly coat popcorn. Stir. Pour maple syrup over the warm popcorn and stir until all the corn, nuts and berries are covered. Shape the sticky corn into balls and place on a plate to refrigerate until the syrup hardens.

Thanksgiving cards and place cards: Fold a piece of paper in half, place a leaf on the inside and close the card. Use a crayon to rub lightly across the front of the card in the area where the leaf is. The shape of the leaf will appear on the outside. Remove the leaf. Write a name on the front for a place card, or a message inside for a Thanksgiving card. Older children might want to make more sophisticated designs using more than one leaf.

Make a chain of paper doll (adults should do the cutting): Fold a piece of paper back and forth over and over again with a width between folds of 2-3 inches. With the paper folded cut out a shape of a person, make sure that the hands and feet touch the fold, but don’t cut through the fold. When you unfold the paper there will be a line of people holding hands. Children ages 3-10 can color the figures to look like Pilgrims(men wore big white collars, belts with buckles, and buckles on their shoes, pants to their knees; women wore white hats and aprons over solid color dresses) or Native Americans (draw feather headdresses and brightly colored geometric patterns on their clothes).

Tree of Thanks: This Thanksgiving tree is bound to become a new holiday tradition.

Trace leaves onto autumn colored craft’s paper and cut out. Punch a hole into the stem of each paper leaf. Measure and cut a 2” length of wire or twine for each leaf. Thread it through the hole and bend the ends to make a hook for hanging. Place the tree branches in a pot or vase. Let the children or/and guests choose a leaf or two and ask them to jot down things that they are thankful for.

Black Friday in the US

6869772267_859961ebb2November 29Black Friday is the Friday after Thanksgiving and is the beginning of the traditional Christmas shopping season. Black Friday is not an official holiday, but many people have the day off, which increases the number of potential shoppers. Merchants and the media use the term Black Friday to refer to the beginning of the period in which retailers are in the black i.e., turning a profit for the year.  Sales are everywhere–set your alarm and hit the stores before the sun comes up to get an authentic experience this unique day!

Happy Thanksgivukkah!

untitled (5)
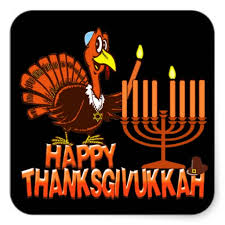
Hanukkah begins at sundown this evening, which means Thankgiving and Hanukkah are celebrated together this year.  A new term Thanksgivukkah is being used to honor both holidays!
The next time Thanksgivukkah will be celebrated is in 79,043 years from now, according to one estimate. Another suggests Thanksgivukkah will take place in 2070 and 2165.

For fun and educational activities for children go to http://www.apples4theteacher.com/holidays/hanukkah/

Directions to play the Dreidel game.  Play for Hershey kisses, a great way to have fun with the kids when they are home from school! http://www.apples4theteacher.com/holidays/hanukkah/dreidel-game.html

Happy Hanukkah!

Spider Web Snacks

Spider Web Snacks

Here is a fun Hal­loween treat of the sea­son. Who knew eat­ing spi­der webs could be so yummy?! These are easy, inex­pen­sive, and cute!

Ingre­di­ents:

– pret­zel sticks
– white chocolate/bark candy coating
– choco­late (baker’s, candy coat­ing, or chips would prob­a­bly all work)
– raisins
– bag­gie or pas­try bag
– wax paper

Direc­tions:

Lay out your pret­zels on the wax paper in “star­burst” arrange­ments of 6 or 8 pret­zels (it’s a good idea to put it on a cookie sheet for trans­port stability).

After melt­ing your white chocolate/bark coat­ing, place in a bag­gie and cut the cor­ner off (or use a pas­try bag).  Start pip­ing your choco­late in the mid­dle of the pret­zel arrange­ment, mak­ing sure to coat all the pretzels.
Con­tinue pip­ing out­ward around the pret­zels, until you have a web.  Then, place two raisins in the mid­dle for the body of the spider.
Melt your reg­u­lar choco­late and pipe over the raisins.  I found that the spi­ders turned out bet­ter when I piped the legs of the spi­der first and then did the body.  Place in the fridge for a few min­utes until the choco­late is hard.  Then, gen­tly peel back the wax paper.…and eat!

Spooky Tree Centerpiece

Spooky_Tree_centerpiece

What You’ll Need:

  • Black Plastic Cauldron
  • Floral/Craft Foam
  • Glass Gems, Rocks, or Stones
  • Halloween Tinsel Garland
  • Plastic Skeleton Garland
  • Twigs from Your Yard
  • Paint & Paint Brush (Optional)
  • Glittery Bat Ornaments
    Easy Step-by-Step Directions:
  1. First, gather a few spooky-looking twigs from your yard.
  2. Place the floral/craft foam in the center of the cauldron and fill the empty space around the foam with glass gems, rocks, or stones. This will anchor your foam and provide stability for your tree.
  3. Stick the twigs from your yard securely into the foam…make sure you push them far into the foam for stability. Arrange twigs into your desired tree shape. If you want to paint your twigs black or another color, do that next. They will be easier to paint standing upright in the foam. Set the tree aside to dry.
  4. Once the twigs are dry,cover the stones at the base of the tree with Halloween tinsel garland, then place the skeleton garland on top of the tinsel and position the skeletons however you wish.
  5. Decorate the tree with more skeletons, Halloween creepy creatures, or handmade glittery bat ornaments.

Witche’s Broom Treat Bag

2012_witch_broom_treat_bags

What You’ll Need:

  • Brown Paper Lunch Bags
  • Scissors
  • Rubber Bands
  • Ribbon, String, or Yarn
  • Sticks (from your yard)
  • Candy

  • Easy Step-by-Step Directions:
  1. Create the broom’s bristles by cutting one of the paper bags in 1⁄2″ strips from the very top (where the bag opens) to the very bottom, stopping at the part of the bag that sits flat on the table top.
  2. Lay the cut paper bag flat on the table.Place the uncut paper bag on top of the cut paper bag, so that the bottoms are sitting exactly on top of one another.
  3. Fill the uncut paper bag about one-quarter full with the candy of your choice.
  4. Put the stick in the middle of the uncut paper bag.
  5. Bring the loose strips of the cut paper bag up and around the sides of the uncut paper bag. Holding both bags tightly against the stick (about half way up) secure with a rubber band.
  6. Tie a piece of string, yarn, or ribbon tightly around the paper bags, concealing the rubber band. Trim excess paper bag.

Use bags as favors/place cards at your next Halloween or Thanksgiving party. Simply print your guests names on cardstock, cut out, and attach to the fronts of the bags!

Education Matters

webinarWe are very proud of the ongoing training we offer our au pairs which provides further educational on a wide range of topics.. Our orientation trainers take great care to research and prepare the topics presented and we get great feedback from au pairs who attend. Please help us spread the word by sharing the information via your FB groups, blogs, newsletters and emails.

Au pairs are sent emails monthly with the webinar details and reminders on the day of training and can register through the webinar link in the email.

Webinar Schedule (All times Eastern time zone)

October 15
8 pm Nutrition. Good eating for you and your kids
9 pm It’s Up to You. Making the most of your Au Pair year
10 pm Activities to do with Preschoolers

October 29
11 am Language Development: Birth and beyond
12 noon Tantrums are no fun for anyone. Help, my kids are fighting again!
1 pm American holidays: what they are, activities and getting through
the holiday blues

November 11
8 pm Managing play with more than one child
9 pm Repatriation
10 pm Feeling Sad or Stressed: Tips for gaining balance in your life

November 26
11 am Help! My kids are fighting again
12 noon Activities for School Age Kids
1 pm Homesickness. Making it through

December 5
8 pm Activities to do with Preschoolers

December 6
9 pm Successfully communicating with your host family

December 9
10 am Homework: Finding the right strategy for your child

December 15
9 pm Homesickness. Making it through
10 pm Toilet Training 101

December 17
8 pm Tantrums are no fun for anyone

Top Ten Outdoor Activities for Fall

Top Ten Outdoor Activities for Fall

Summer is over, and in many places the air is turning colder. As the weather changes be sure to take advantage of what the fall season has to offer. Even if you don’t live in a place that sees a lot colorful leaves, there are fun family-friendly ways to get outdoors this fall:

• Go apple picking. Sure, most of us can get apples year-round from the grocery store, but there’s nothing quite like orchard fresh apples, picked straight from the tree during harvest season. That crunchy, tangy, sweet apple flavor is at its peak during this time of year. Many commercial orchards will let you pick your own. It’s not only fun, it’s also a great way to show kids where their food comes from. Get extras for canning applesauce, or making pies. When you’re done, warm up with a delicious mulled cider.

• Go on a nature hike. Bring along a field guide to identify different kinds of trees. Look for wildlife collecting food for winter. Explain to kids how animals are starting to fatten up and grow thick, protective winter coats. Watch for migrating birds.

• Collect fall leaves. Press them into books or preserve them in glycerin (recipe below*). Paste them onto handmade paper to create greeting cards, or glue them between two pieces of wax paper to make an attractive sun catcher. Go lightly on the glue, or substitute crayon shavings to add color; use a warm iron to melt the shavings and hold the paper together.

• Take a hayride. Many farms offer hayrides during the fall. This is a great way to kick back and enjoy nature with smaller kids who may not be up for a long walk.

• Visit the pumpkin patch. Don’t buy your Halloween pumpkin from the grocery store. Go straight to the source. Kids will love wandering around the patch to pick out the perfect pumpkin. Choose a couple of big ones for jack-o-lanterns, and grab a few smaller ones for painting or general household decorations. Smaller pumpkins make great additions to fall centerpieces. Roast the seeds in your oven with a sprinkling of tasty spices, and grab a few to make pumpkin pies.

• Visit a corn maze. Many farms earn extra income for the winter by turning their cornfields into large mazes. Test your directional sense, and get some fresh air in the process. Corn mazes are fun or all ages.

• Stuff a scarecrow. Dig out an old shirt and overalls, and stuff it with leaves until firm. Add a pumpkin head (from your trip to the pumpkin patch) and you’ve got a great fall decoration.

• Fly a kite. The gusty, brisk air makes autumn a great time for flying kites. Buy one from the store, or make your own from two long sticks, strong paper, and string.

• Have a bonfire. Invite some friends over for a backyard bonfire. The chill in the air makes fall the perfect time to sit together by the warmth of a blazing fire with a nice warm mug of cocoa or cider. Be sure to get any necessary permits from your town first.

• Make a leaf pile and jump in!

*Bring a mixture of two parts water to one part glycerin to a boil in a saucepan, and pour the solution into a heat-safe container. Drop in the leaves, and gently submerge them with a wooden spoon. Place the container in a cool, dark place for up to seven days. Remove the leaves when you begin to notice a slight change in their coloring, and blot them dry with a paper towel

Make It The Best Year Ever

There are so many new faces in the cluster.  You must have heard “make this the best year ever”, but what does it really mean?  Here is a list of suggestions I gathered from my former au pairs.  They all agree that the year goes by really fast and despite having some bad days, they do miss being an au pair.  When I asked them what suggestions they wanted to share, here is what they told me:

1.  Take good care of the kids (this really was their first response!)

2.  Listen and respect your host family, be honest about your mistakes, don’t try to hide them….it will only make things worse.

3.  Travel as soon as you can, don’t procrastinate.

4.  Meet new people, try not to hang out with only au pairs from your country

5.  Enjoy every moment

6.  Be open-minded, don’t compare

7.  Don’t spend all your money on the stuff you don’t need.  It’s not easy to take it home

8.  Give it a good chance, even it you are feeling homesick, shy or nervous. Stick it out because its definitely worth it

9.  Take advantage of your free time, volunteer and help out.  The reference letter may help you get a job in the future.

10.  Pick your classes carefully.  There are some options that you will find interesting.

Enjoy your journey!

Know Your Driving Rules

Bus-Clip-Art1

Au Pairs often find themselves driving the kids around to activities. Be sure to know the rules of the road in order to be safe and avoid getting a fine.  The rules regarding stopping for school buses are:

  • Yellow flashing lights indicate that the bus is preparing to load or unload children. You should slow down and prepare to stop the car.
  • Red flashing lights and extended stop arms indicate that the bus has stopped, and children are getting on or off. Motorists approaching from either direction must wait until the red lights stop flashing before proceeding.
  • It is against the law to pass a stopped school bus while its lights are flashing and its’ stop arm is extended. Vehicles must stop on both sides of the roadway. Failure to stop can result in high fines which the au pair has to pay, not the host family.

https://blogs.aupairinamerica.com/mdf/wp-content/uploads/sites/2/2011/09/school-bus-stop-300×199.jpg