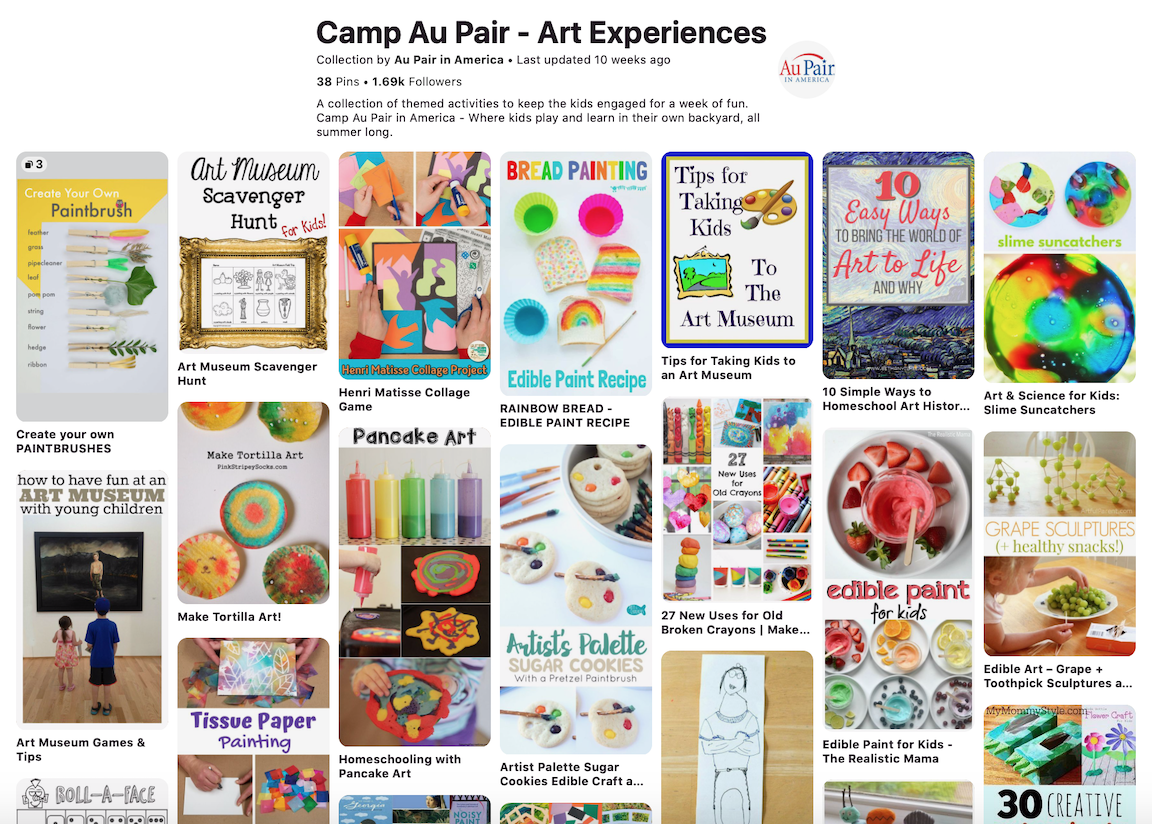
This week’s Camp Au Pair theme is Art Experiences.
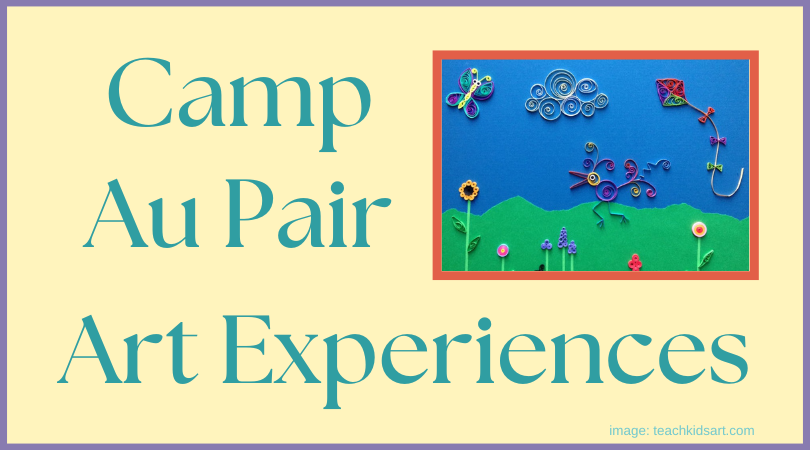
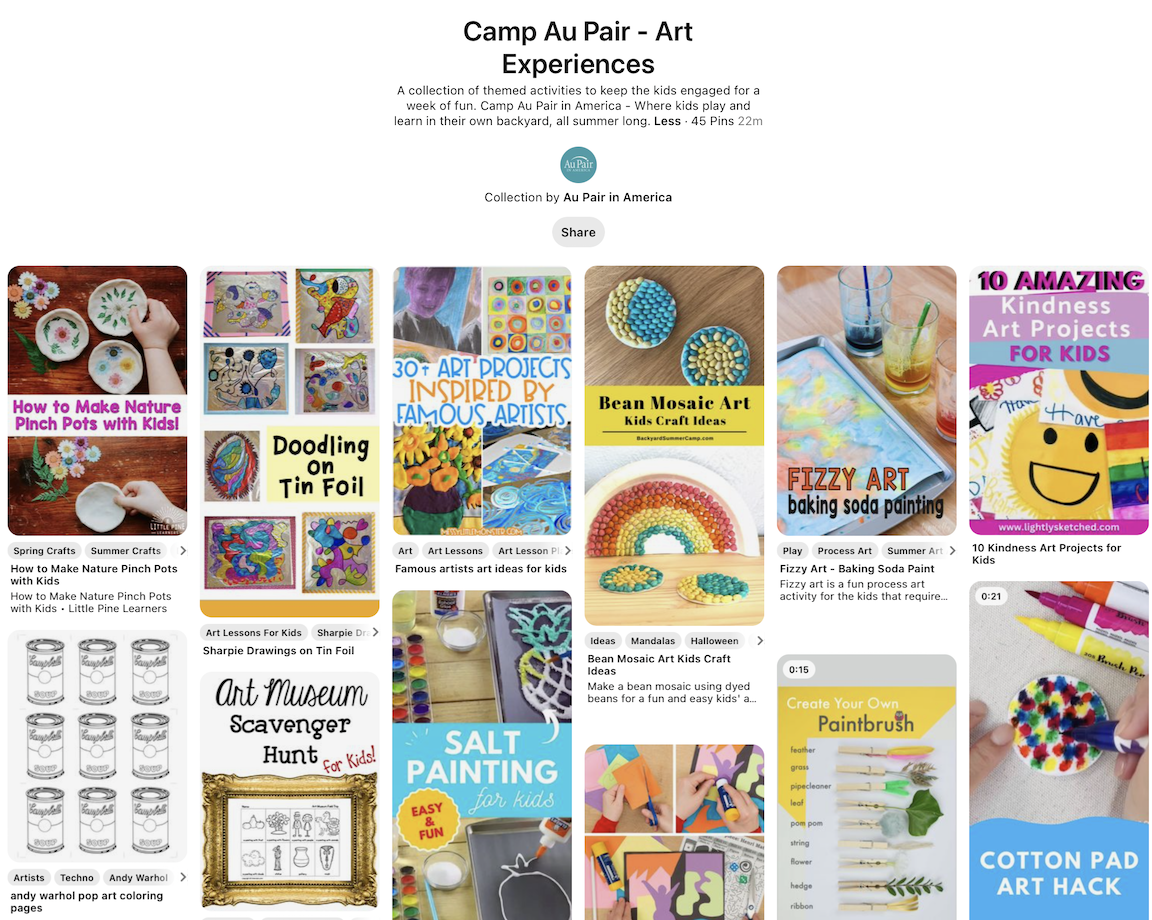
Crafts, recipes, activities, and games related to art can all be found here on the Camp Au Pair – Art Experiences pinboard.
Culture Sharing – Share any specific forms of art that are popular in your home country (mosaics, origami, murals, fabric dying, etc.) Are there any famous artists from your country that you could share their works with your host kids?
- This website is a great start to exploring artists from a variety of countries – Exploring Famous Artists for Kids – Fun Art Projects Inspired by Artists.
- Check out the Global Awareness website past contests page to see art submitted by au pairs from a variety of countries. The previous Flag Day Contest winners have some great art inspired by country flags and symbols.
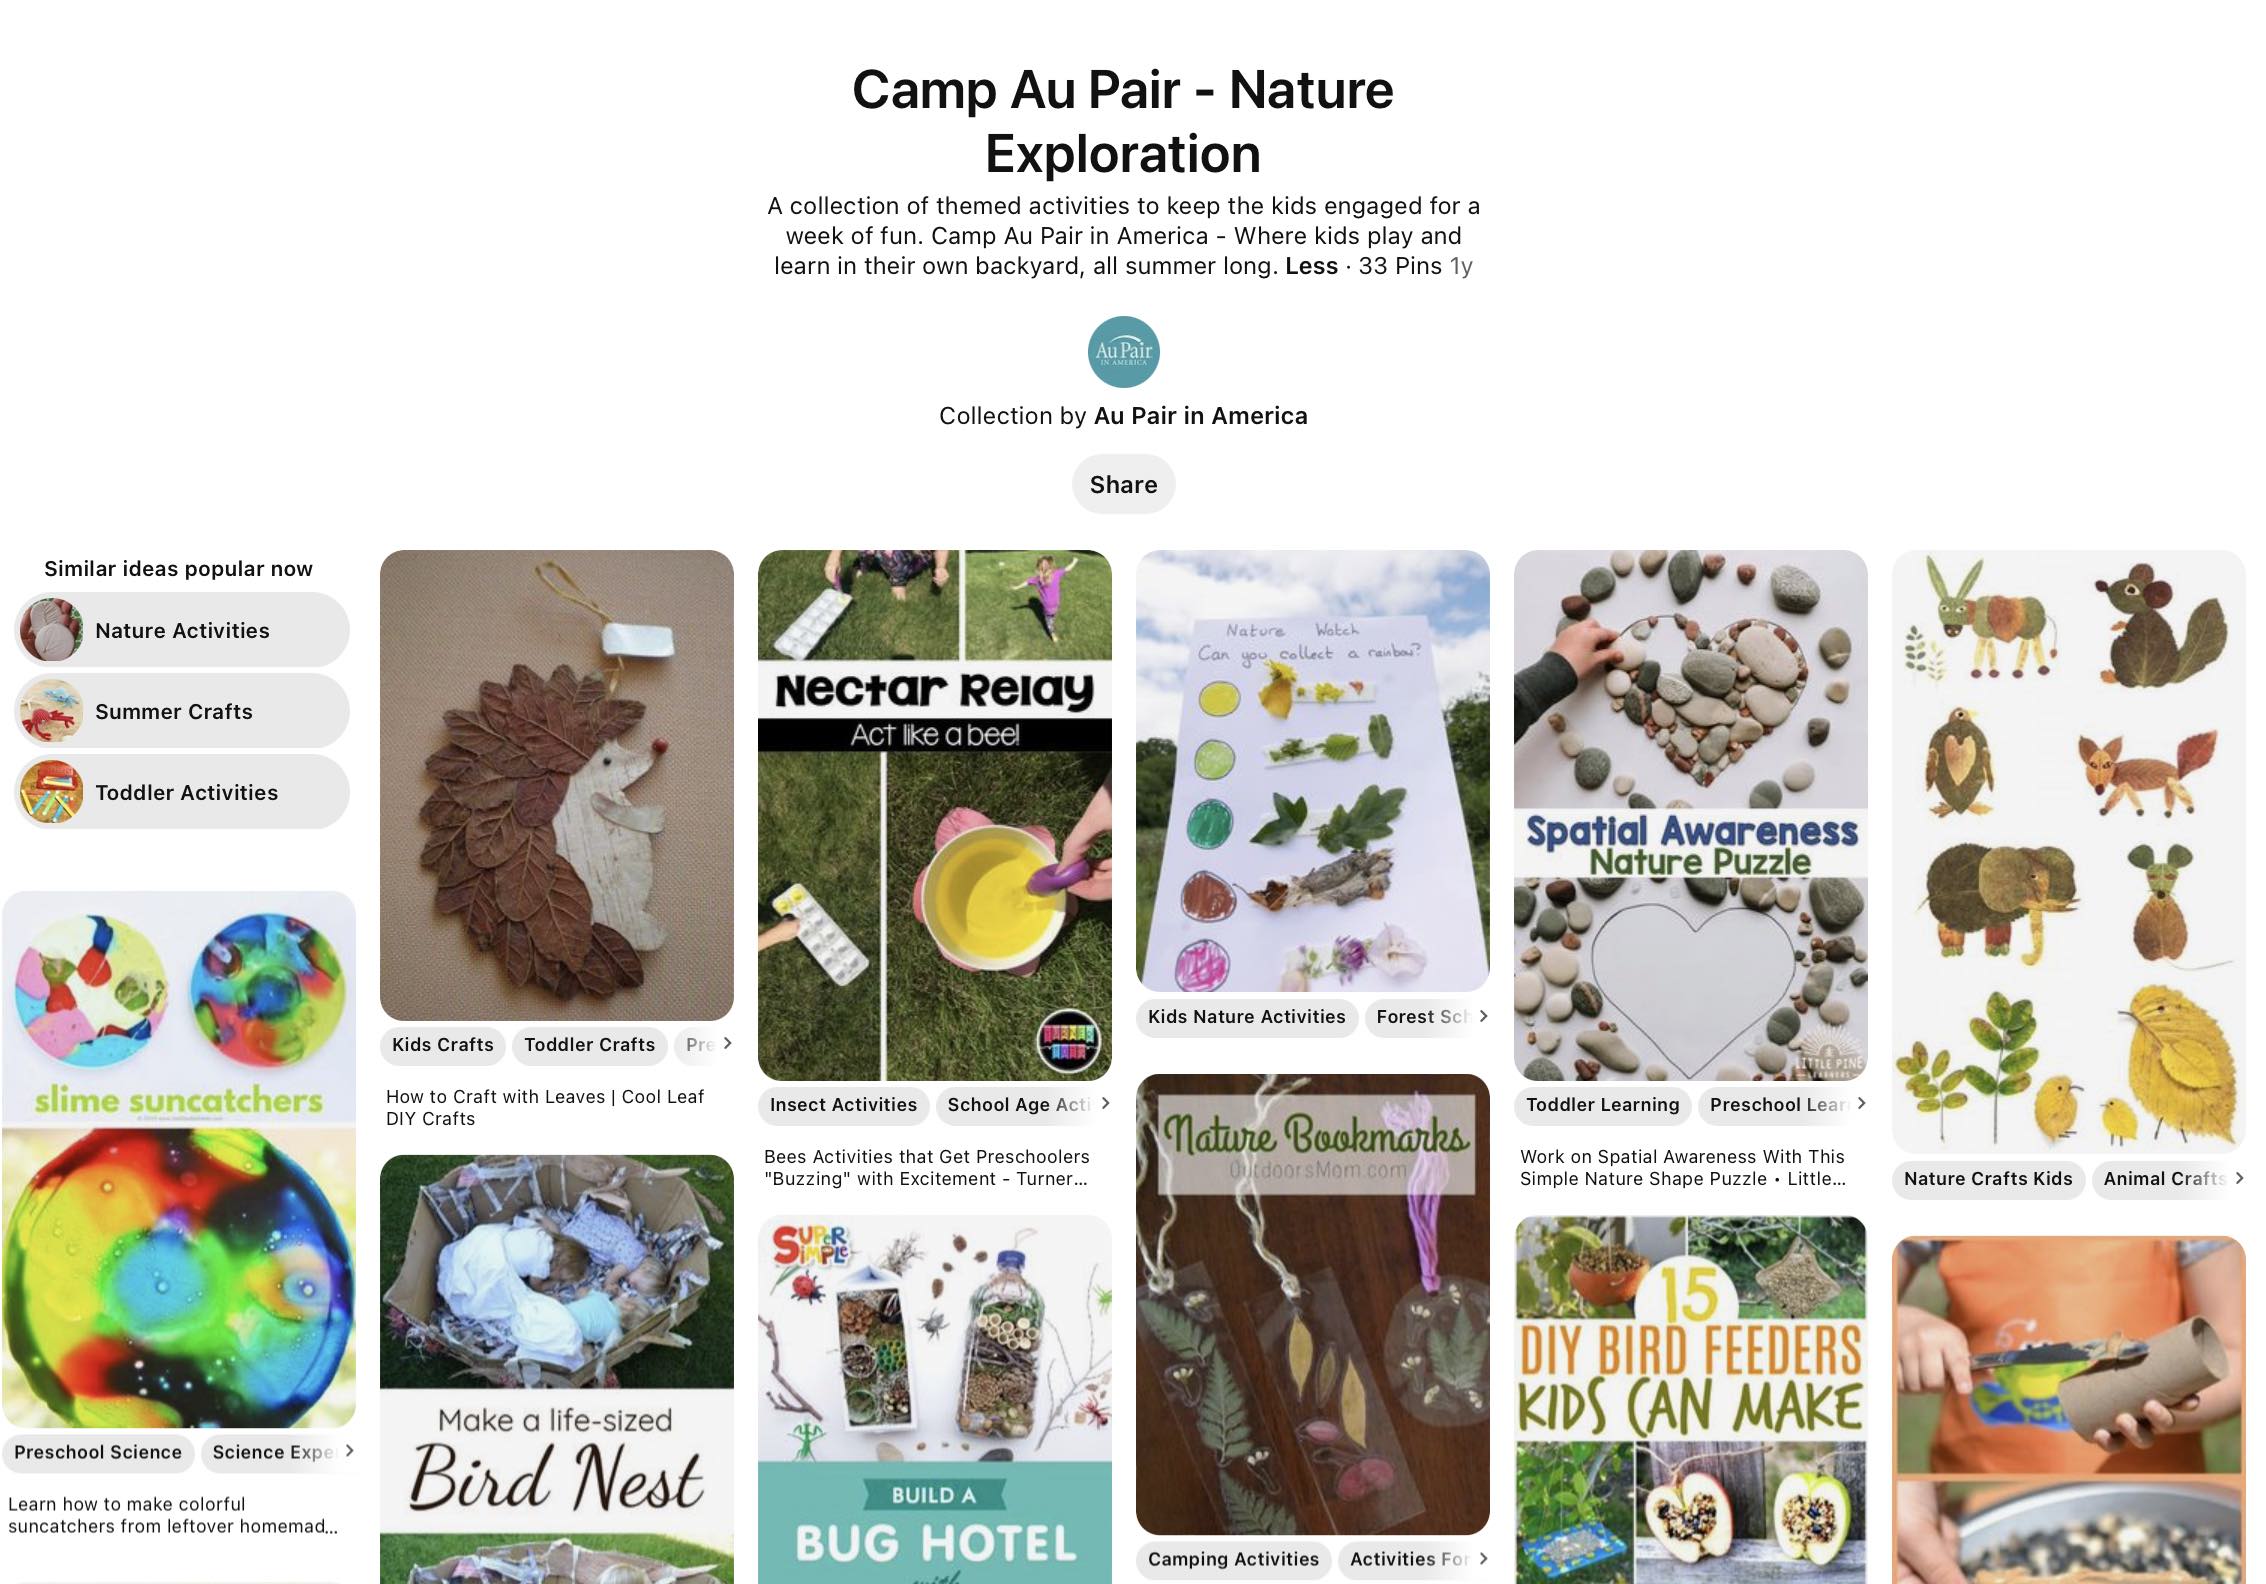
- Take a look at our Flags & Map pinboard for more ideas and inspiration.
Field Trips can be a great way for kids to learn and have new experiences. Get permission from your host parents before any outings. Check the websites before you go to be sure you understand the hours, costs, and whether advance tickets/reservations are required.
- Art Museums
- Clay and Ceramics Studio
- Paint Your Own Pottery Studio
- Public Art (Murals and Outdoor Art Sculptures)
- 20 Famous Art Museum Virtual Tours
Online Art Fun – Here is a great website with lots of art activities including ones for older kids.
Webcams – You can do a google search for art websites with webcams. Here are a few to get you started:
Videos – Look for fun videos on YouTube about drawing and all kinds of art.
Books – Stop by your local library and look for books on famous artists and art.
Check YouTube for books on art being read aloud:
Image: teachkidsart.com
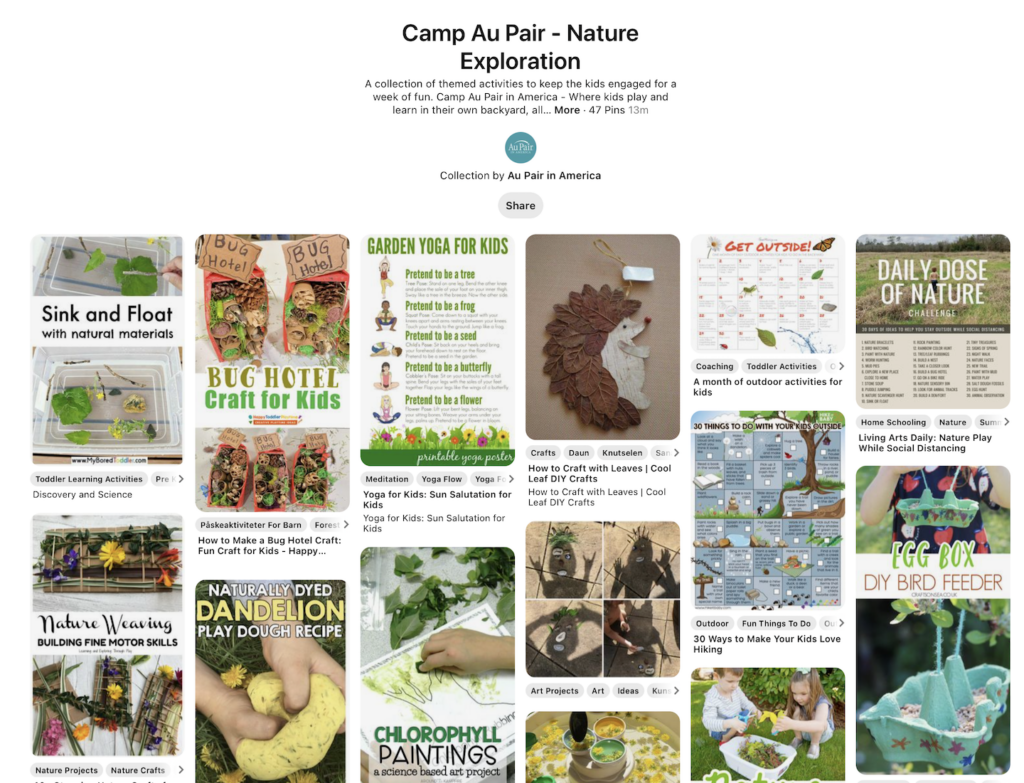

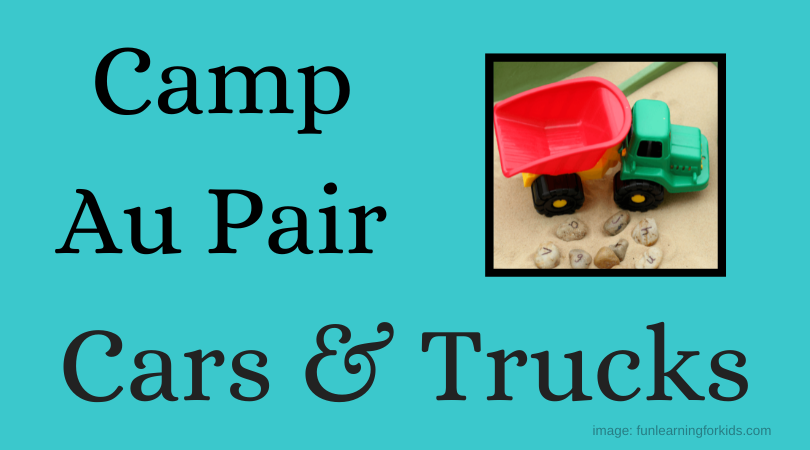
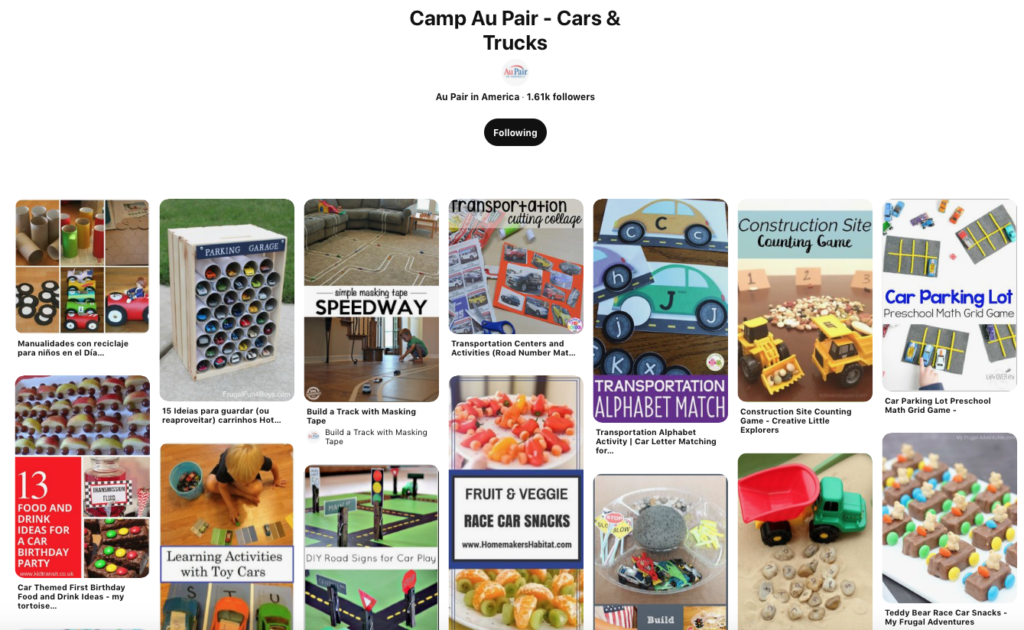
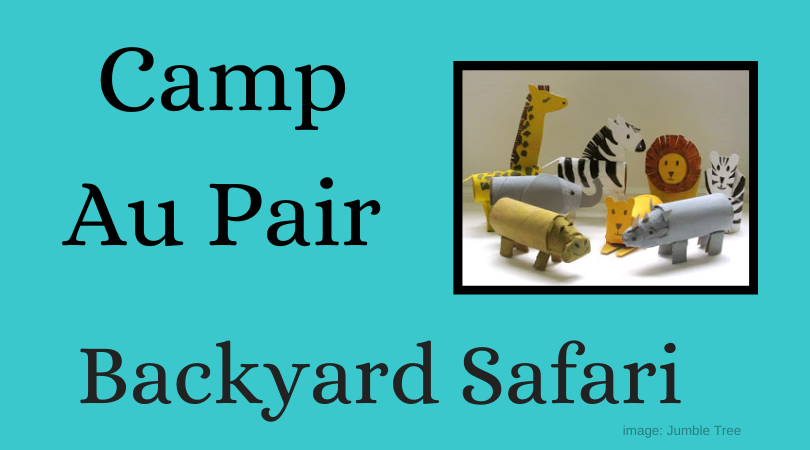
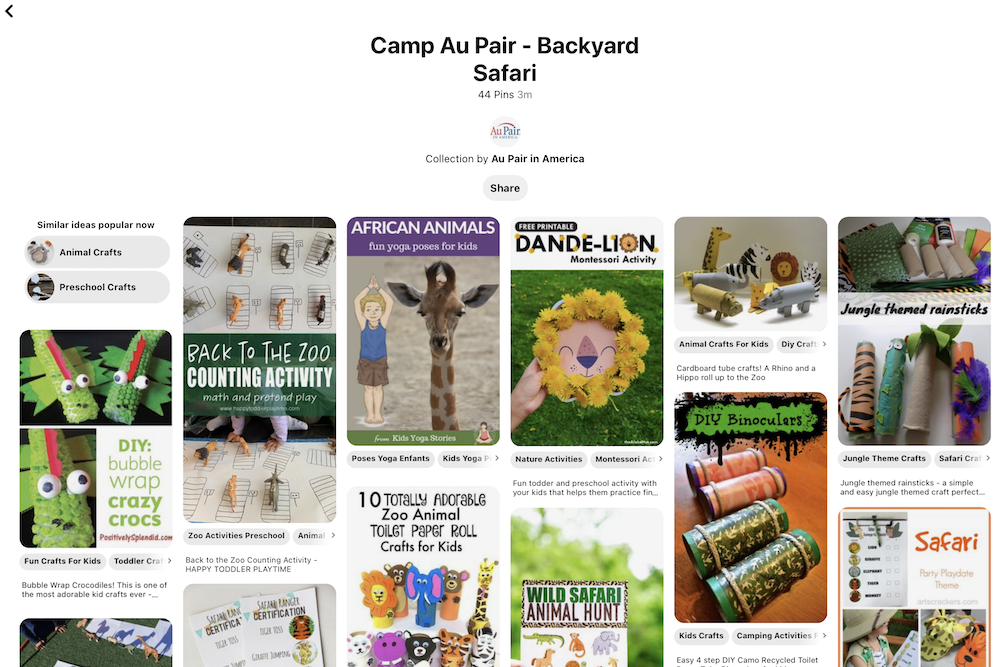
 Next week’s Camp Au Pair theme is
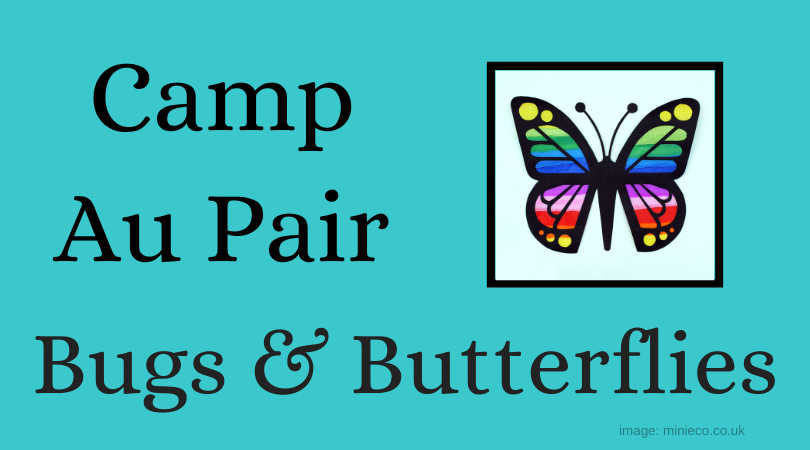
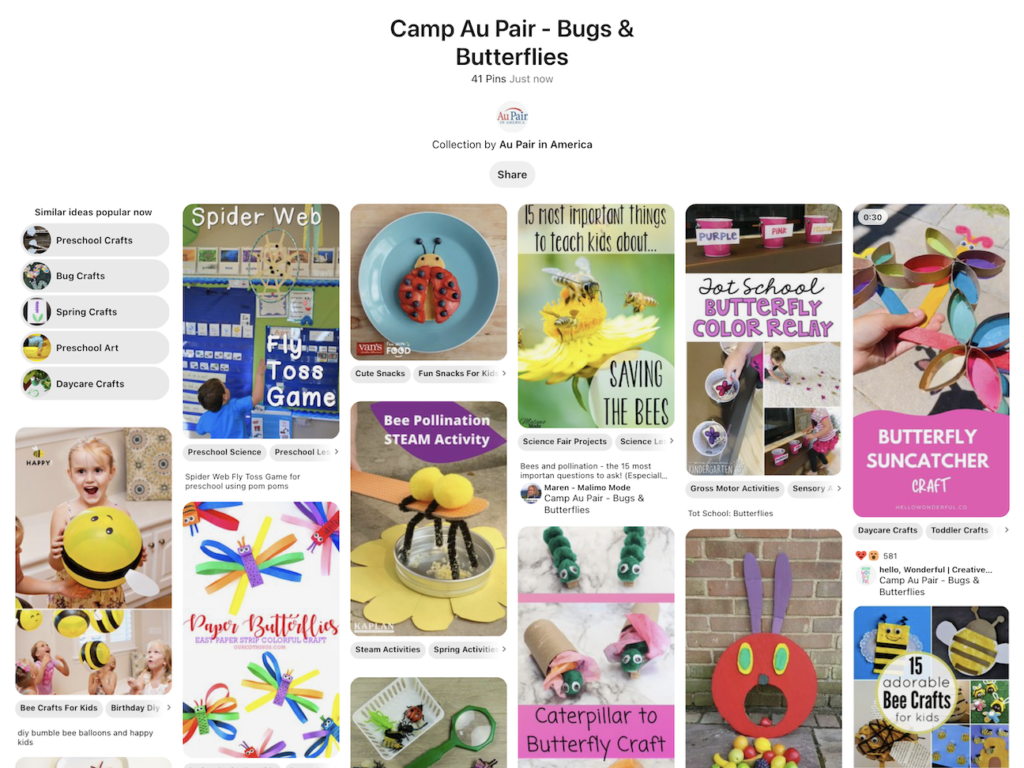
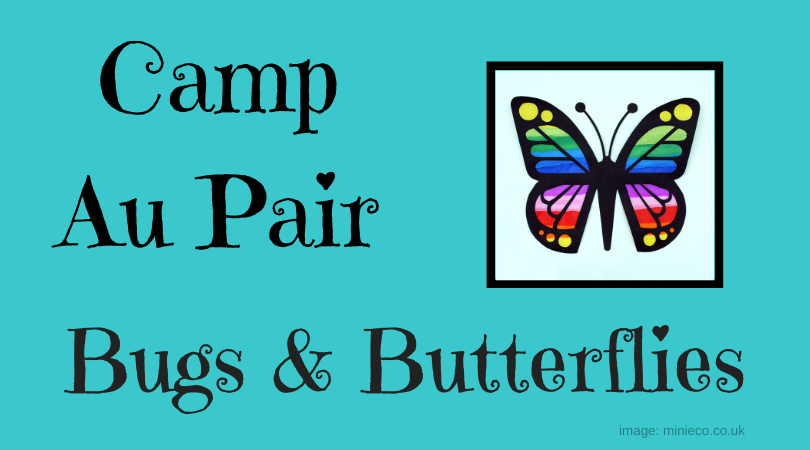
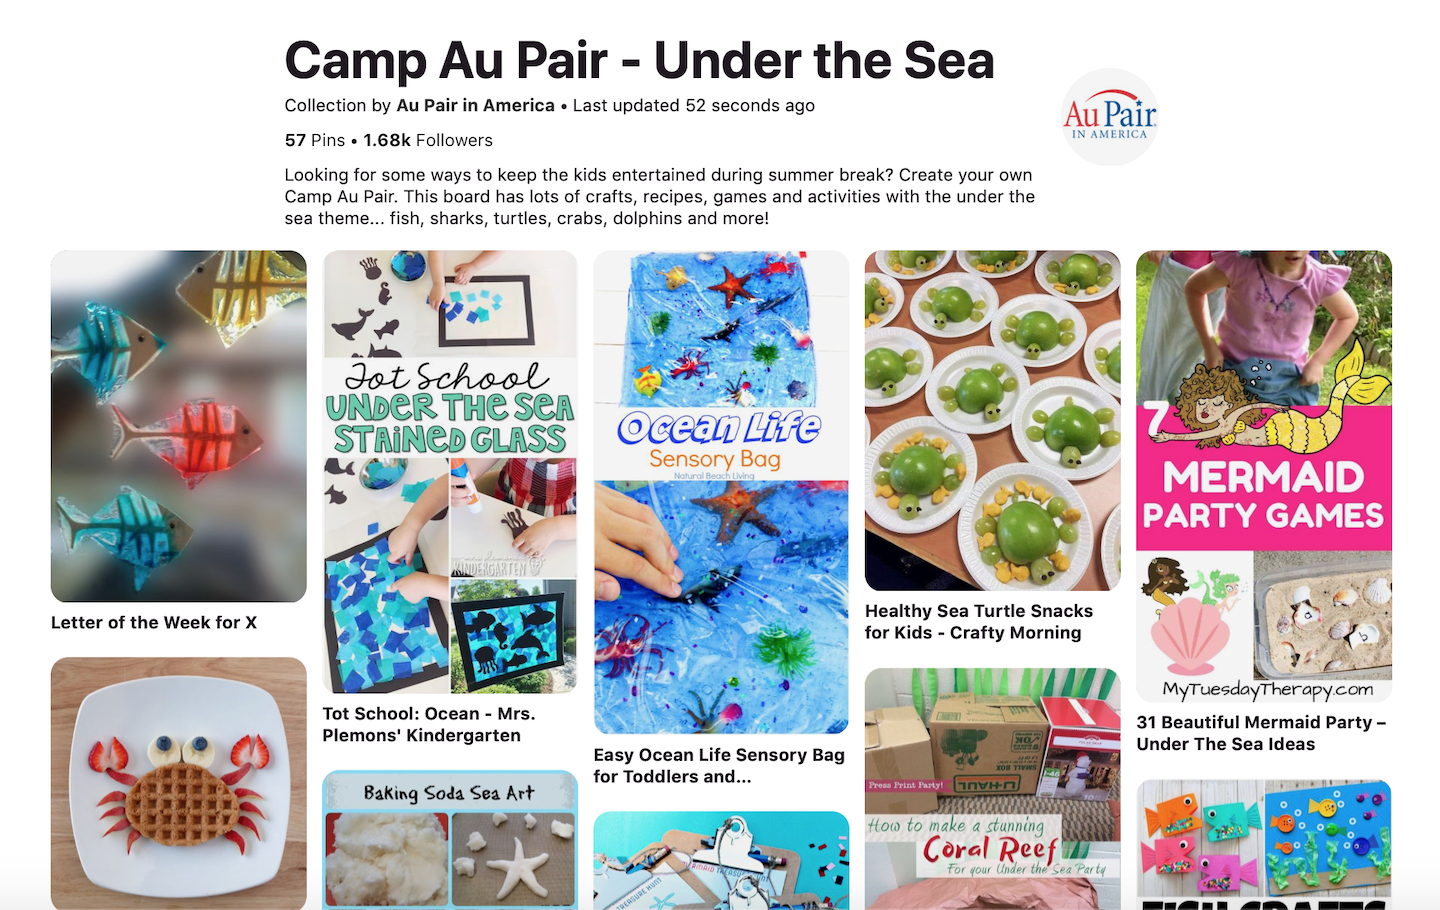

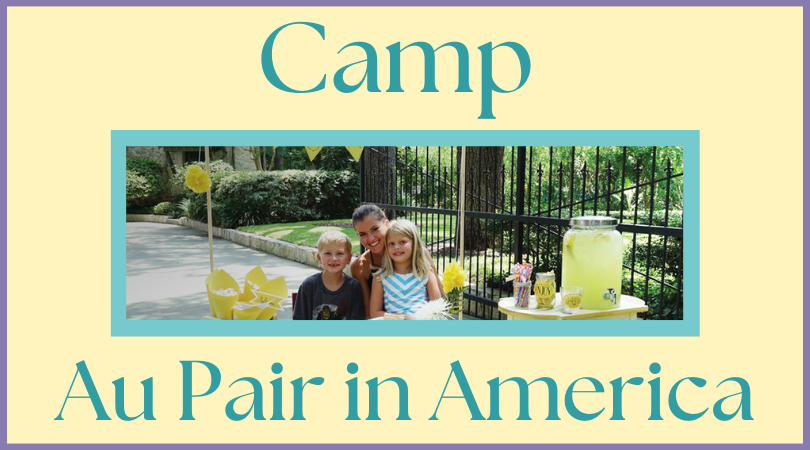
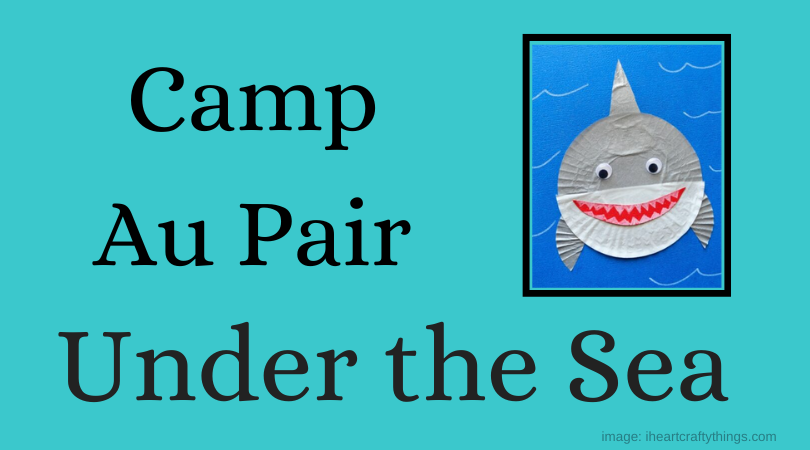
 This week’s Camp Au Pair theme is