Tag Archives: craft

Creating Ice Lanterns & Wreaths

With winter break and the longest nights of the year approaching, try a magical project that will wow your entire family – ice lanterns and wreaths.  Depending o
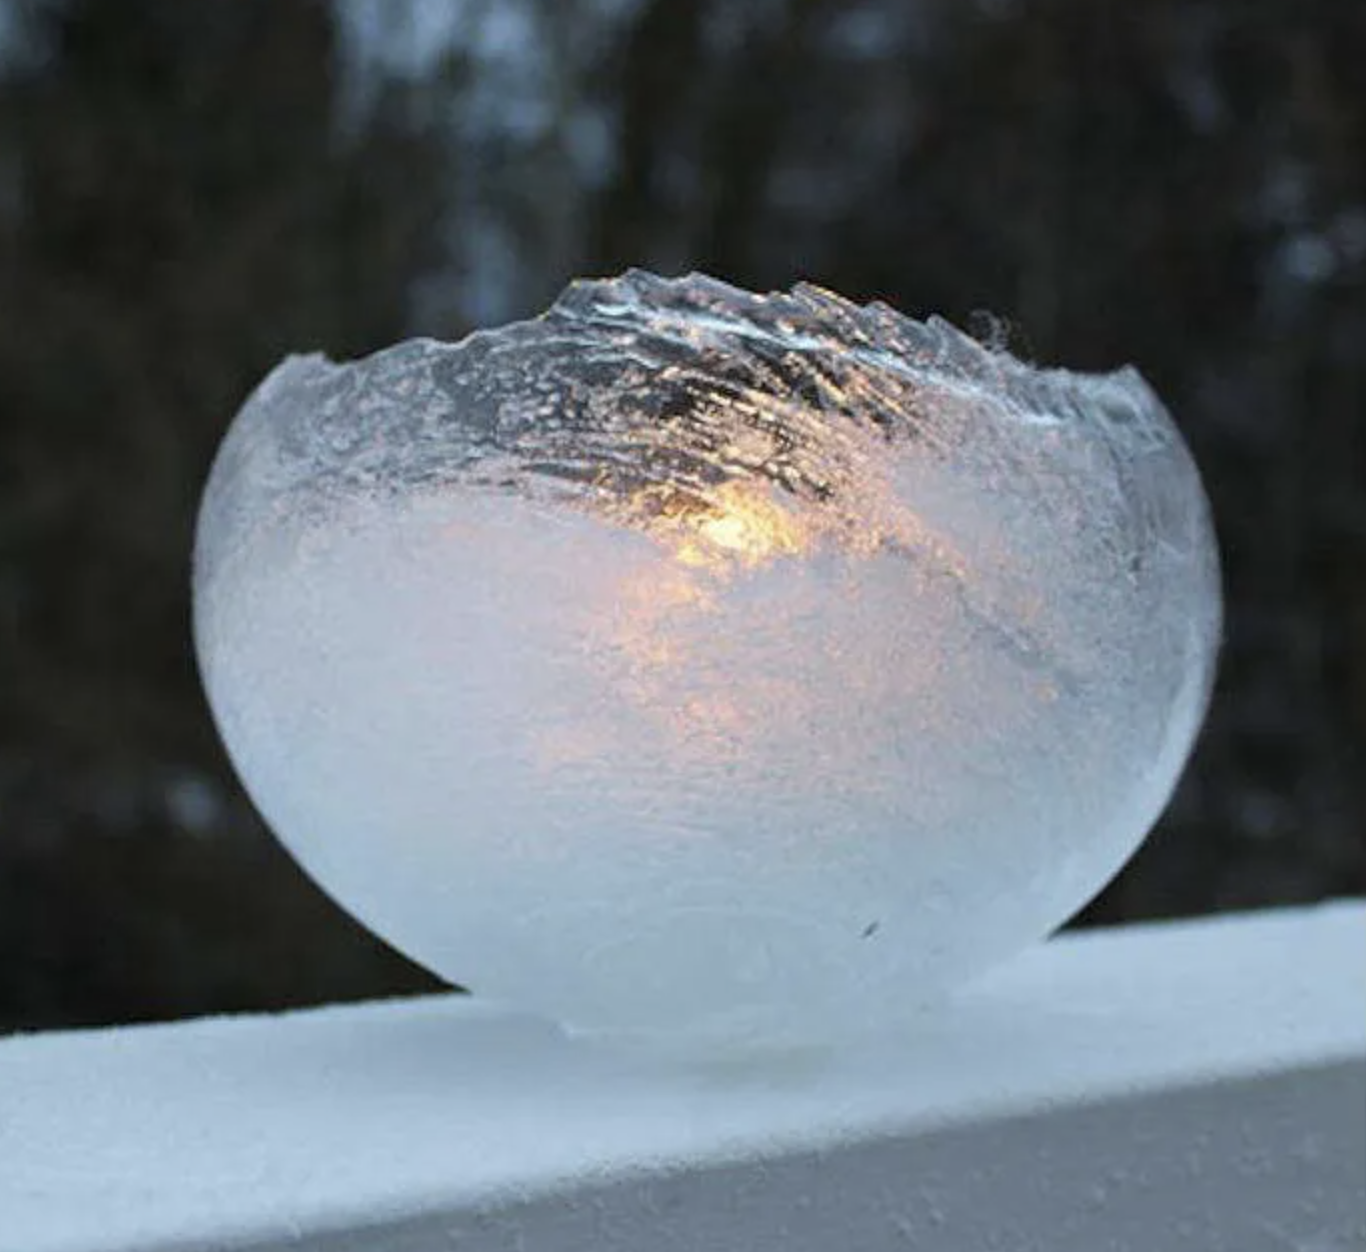
n the ages of your children, decide if a simple or more labor-intensive project is in order.

For the younger ones, try filling a balloon up partially with water and freezing it.  After an hour or so, adjust your icy orb to coax some of the remaining liquid up the sides. Once solid, remove the balloon to reveal a vessel that will make Queen Elsa swoon.

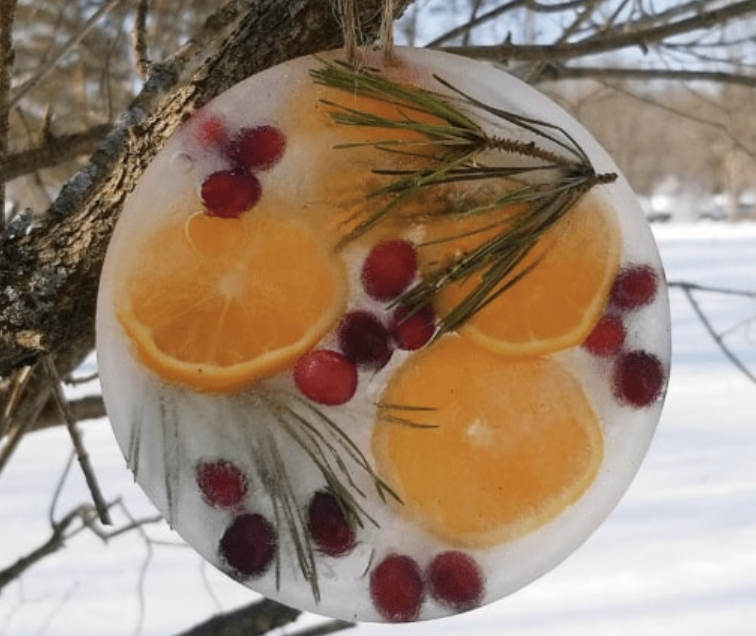
Another option is to select an aluminum pie pan or plastic take-away tray and fill it with water.  Arrange cranberries, pine boughs and sliced oranges then freeze.  If you wish to make a hole in the ice to hang your creation, heat the tip of a skewer and carefully push it through the ice before suspending outside.

Finally, try filling a bucket or large container with water. Carefully tape a mason jar down to displace the water (or alternatively try using a bundt pan) and freeze. Once solid, remove the containers and add a candle or small light and enjoy! More detailed instructions can be found here.

For other unique craft project ideas, check out our Pinterest page!

Fall Traditions: Carving Pumpkins

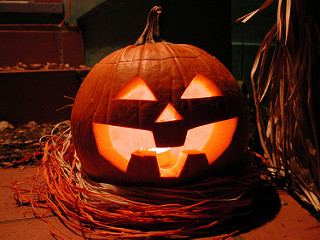
It was great to see so many of you at our Pumpkin Patch Host Family & Au Pair Meeting on Sunday! A treasured fall/Halloween tradition in the United States is pumpkin carving or making “jack-o’-lanterns”. Whether this is your first time decorating a pumpkin or you are a seasoned pro, these videos have a few tips and ideas you may find helpful.

How do I make it safe for the children? If you are carving a pumpkin with your host child(ren), remember to be very careful with them around sharp tools. You can purchase kid-safe pumpkin carving tools that cut without a sharp blade. If you don’t have those, let kids help with all of the tasks that don’t involve a knife such as: picking the pumpkin, scooping out the insides, choosing the design and adding any other decorative touches. You can buy or print pumpkin templates online and school aged kids can use a thumbtack to mark the pattern on the pumpkin. Here you can find a free template and instructions on how to do this.

How long do they last? Carved jack-o-lanterns begin to deteriorate after just a few days outside (depending on the weather). Temperatures over 60˚F (15˚C), rain, and freezing then thawing all make them rot more quickly. So, if you want your pumpkin to be fresh on the big night, don’t carve it more than a few days before Halloween and/or keep it in a cool place.

Check out Au Pair in America’s Halloween Fun Pinterest board and our Fall Bucket List for more fall traditions and activities to try.

Here are video readings of two of my favorite pumpkin stories.

Image: Jeff Kramer

Looking for Valentine’s Day Activities?

Valentine’s Day (February 14) is a time of love, friendship, giving, and caring. Americans use Valentine’s Day as an opportunity to tell friends and family how much they care.  Children usually exchange cards at school.
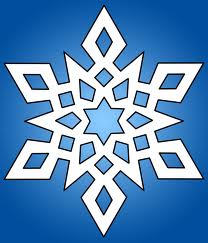
Are you looking for Valentine’s day activity and craft ideas?

Look no further…  Au Pair in America has a Pinterest pinboard devoted to Valentine’s Day:

APIA Valentine’s Day Pinboard

Photo: Clever Cupcakes (Flickr)

Make Your Own Play Dough

Play dough is the perfect modeling material for children. Their small hands can pat, poke, pinch, roll and knead it into many shapes. Keep it in an airtight container to use another day, or let it air dry into favorite shapes.

8640007416_3170564961_m

Measure 2 cups of flour, one cup of salt and 4 teaspoons of cream of tartar into a bowl. Add 1/4 cup of oil to one cup of water in a separate bowl then add the mixture to the dry ingredients. For colored play dough, squeeze 10-20 drops of food coloring into the water before you add it to the mixture. Cook the dough at low heat in a wide pan, stirring constantly until it becomes rubbery. Remove the dough from the heat and knead it for a few minutes. When it cools the kids can play too!

Photo: Kevin Jarrett (Flickr)

Garland of Gratitude Craft

Below are the directions from Spoonful for this fun and easy project.

Garland of Gratitude

garland-of-gratitude-thanksgiving-craft-step3-photo-150-FF1104CRAFTA03

Simple enough for kids to create on their own, these beautiful, textured leaves make a wonderful holiday tradition. Invite each guest to write something he or she is grateful for on a leaf, and watch the garland grow each year.

Materials
  • Colored construction paper
  • Pencil
  • Spray bottle (filled with water)
  • Scissors
  • Colored pencils
  • Twine or natural-colored string
  • Double-sided tape
Instructions
  1. Draw leaf shapes on colored construction paper, or download leaf templates and then trace on to colored construction paper.Make at least 1 leaf per guest plus others for decoration.
  2. Lay the paper on a covered work surface, then spray water over both sides so the whole surface is damp. Crumple the paper into a loose ball, flatten it out, and let it dry completely (which takes a few hours).
  3. Next, cut out the leaves and hand them to your guests to write on.
  4. Finally, make a garland by folding the stems over a length of string and taping them in place. Drape them from a sideboard, along a mantel, or from the top of a doorway.

Mini-Gingerbread Houses and Igloo

A fun holiday activity to do with kids is making gingerbread houses.  You can buy kits with prebaked gingerbread and all the supplies or you can make your own using graham crackers.  Graham crackers are sold in the cookie/cracker aisle at the store.  The advantage to assembling your own supplies is that you can mix in some healthy decorations as opposed to all candy in the kits.  You can also let kids unleash their creativity.  There is no rule about how the houses must look, so they can build whatever they like.

Graham Cracker Houses

Here are the supplies to gather to make your own mini houses:

  • box of graham crackers
  • store bought whipped white frosting
  • wax paper or foil (to cover the surface you work on)
  • plastic knife (to spread the frosting)
  • decorations (candies, mini pretzels, cereal, the possibilities are endless)

Set up a work space on the table for each child with their supplies

gingerbread house 1 gingerbread house 2

Mini Marshmallow Igloos

Another super easy and fun option is to make an igloo.

Here are the supplies you will need:

gingerbread like igloo

Mini Marshmallow Igloo

Simply let the child cover the outside of the cup with white frosting and place marshmallows on the frosting.