 Earth Day
Earth day is celebrated on April 22nd and was organized first by environmentalists in 1970.It has become more and more popular each year.
The goal of the day is to “increase awareness, responsibility and action toward a clean, healthy future for all living things.”
Here’s a fun paper-making activity in the spirit of Reduce, Reuse, Recycle. This activity is appropriate for children ages 5 and up with adult supervision. It requires some advance planning to gather all the materials and will take several hours to complete and clean up.
Paper-Making Recipe
This paper-making recipe will help you recycle some of that wasted paper around your house, such as newsprint, envelopes, writing paper, left over gift wrap, or other types of paper. Note: Sort the paper by color, because it will come out that tone.
Materials
- a large bowl
- waste paper (about 5 sheets)
- water
- a mixer or food processor
- two wooden frames 8″-12″ (you can buy a standard frame or make one)
- a screen (nylon works well)
- a stapler
- a large basin (dishpan for instance)
- optional: dryer lint, thread, glitter, flowers, thin leaves, pine needles, potato or carrot peel…be creative here
1. Soak It: To begin, shred the paper into small squares about 1×1 inch and put them into the bowl with hot water. Let soak for half an hour.
2. Make a Mold: While the paper is soaking, make the mold by attaching the screen to each frame using staples.
3. Turn it into Pulp: Place the soaked paper in the mixer bowl or food processor half filled with water. Mix at half speed until smooth. At this point, you can also add small quantities of vegetables or plants to the pulp. In this case, mix until the mixture is uniform. (Only a small amount should be used or you will end up with mush.) To add color to the paper, add nontoxic fabric dye or food coloring to the mixture.
4. Swish it in a Basin: Pour warm water into the basin until it is half full. Then, pour the pulp into the basin until the mixture resembles thick soup. The thicker the mixture, the thicker your paper will be. Working in the basin, place the pulp on the screen in the frame and shake it from side to side to distribute the pulp evenly until it makes a sheet of paper.
5. Drain: Take the paper pulp and frame out of the basin. Place the other framed screen on top. Hold both frames and turn them over so that the pulp is on the dry frame.
6. Let It Dry: Place the frame flat and let it drip dry.
7. Leftovers: When you are done, you can throw away the screened pulp or keep the drained, leftover pulp in the freezer, in a plastic bag, for later use. NOTE: Do not pour the pulp into the sink or toilet because the pulp could block the drain.
Remember use your imagination!
Activity from www.planetpal.com
Other activity links:
http://crafts.kaboose.com/holidays/earth-day/earth_day_crafts.html
Earth Day Coloring pages:
http://holidays.kaboose.com/earth-color.html
Activities around town:
Fancy Nancy Poetry Storytime (FREE!)
(through Sat, Apr 17)
Borders hosts a storytime inspired by Jane O’Connor’s new book, Fancy Nancy Poet Extraordinaire, complete with games, crafts, poetry-writing, and more. Check with your local store to confirm participation…
Location: Borders
Cost: Free
Ages: 5 – 8
Earth Day Family Day: Can You Dig It?! (FREE!)
(through Sat, Apr 17)
Families can listen to a geologist talk about the many different kinds of dirt, a librarian read a book about dirt, and participate in workshops where they make paintings and objects from dirt and clay to take home. Advance registration is required; space is available as we go to press…
Location: Arlington Arts Center
Cost: Free
Ages: 3 – 18
Family Day: Earth Day Celebration (FREE!)
(through Sat, Apr 17)
Celebrate Earth Day in conjunction with the opening of the Running Fence exhibition with live performances; interactive storytelling; crafts such as making eco-friendly woven placemats, fabric collages, decorating tote bags; and even helping to make a community fence…
Location: Smithsonian American Art Museum
Cost: FreeAges: All Ages
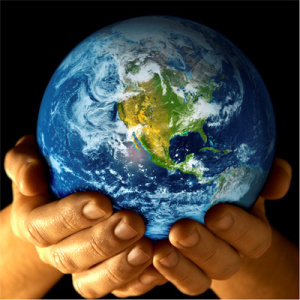 Earth Day is a day that is intended to inspire awareness and appreciation for the Earth’s natural environment.
 Take your kids to a free or almost free movie.There are a few theaters in the area offering free or $1 kid’s movies during the Summer.Check them out and make it a field trip for you and your host children. Check these websites to see if they are offered in your area:


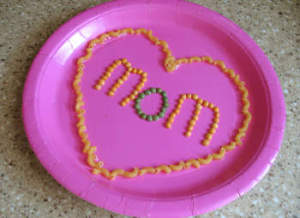
 Flower Card for Mom